
The 34 Pilates Mat Exercises
In his book Return to Life, the late Joseph Pilates provided a complete list of Mat exercises and their order. This article provides the order and explanation of each.
You can find these exercises in on place on the Pilates Anytime website under Mat Pilates Exercises
1. The Hundred
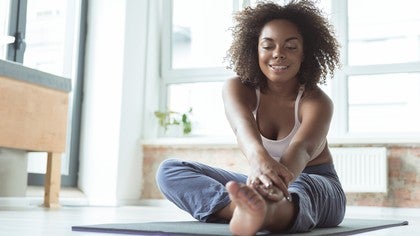
The Hundred is a signature Pilates warm-up exercise that will give your core a great workout. Usually done at the beginning of the class to get your heart rate going, The Hundred helps you to focus and control your breathing, and warming up your entire body. It will challenge your hips and flexibility while building on your range of motion and mobility.
- You will start this exercise lying flat on your back with your arms next to your body, palms facing down, legs straight.
- Start with a deep breath in, and on the exhale, curl your head, neck, and shoulders up, lift your arms a few inches off the ground (about hip-high), and float your legs up to about 45 degrees (or desired height, adjust as you go).
- Exhale, keeping your legs straight at that angle. Pump your arms down. Note your breathing when you do this. Inhale, pump five times, exhale, pump five times, and repeat this ten times, thus named The Hundred.
Make sure your abdominals stay drawn into the Mat, keeping the back flat and stable on the Mat. The neck stays in line with the spine as one unit.
2. Roll Up
The abdominals are the primary focus of the Roll Up Mat exercise, but it also has the benefit of stretching and releasing the back.
- Start on your back, legs straight, arms reaching overhead, shoulder distance apart. Feet together. Palms facing forward.
- Breathe in and when you exhale, do so consciously so that you engage your abdominals. Get the sense of your ribcage closing as you exhale.
- Reach your arms overhead, keeping them shoulder-distance apart.
Avoid using momentum or forceful movements as you roll up, rather use your breath to assist your abdominals, and continue to maintain your breath throughout the exercise.
3. Roll Over
Part of the warm-up routine, this exercise will strengthen your abdominals and increase your spinal mobility. It will also help stretch out your lower back and legs.
- Start by lying flat on your back, legs together, arms at your sides.
- Take note of your abdominals and draw them toward the Mat.
- Inhale as lift your legs to 90 degrees. Exhale as you reach the legs up and over to achieve a C curve in the spine.
- Separate your legs, flex your feet, and lower them to the floor.
- Roll through your spine to the Mat and circle your legs down around and together.
- Repeat and reverse the opening and closing of the legs.
Avoid rolling over past your shoulder blades and maintain a lift in the lower back by reaching your sits bones towards the ceiling.
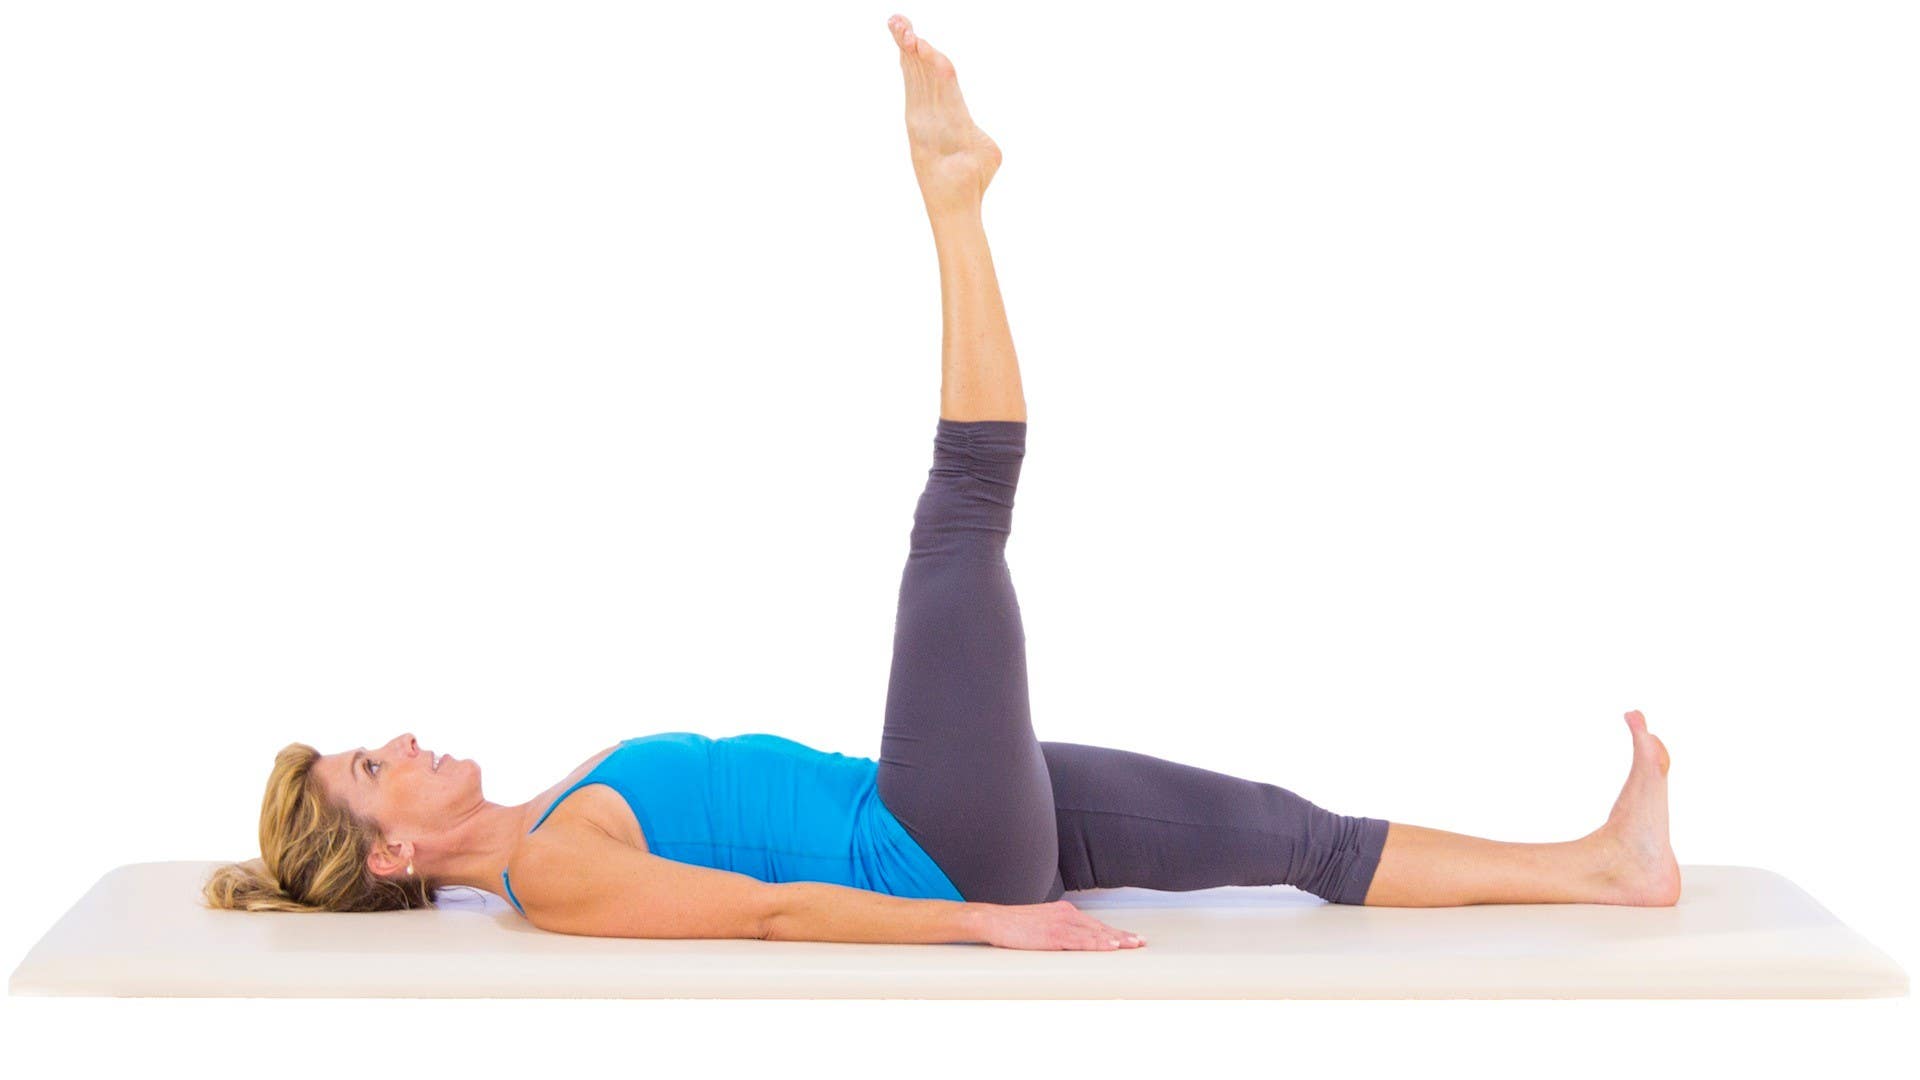
4. One Leg Circle (Single Leg Circles)
This exercise works the abdominals and provides pelvic stabilization and mobilization of the hip joint.
- Start on your back, arms by your sides.
- Keep one leg straight on the mat with the foot flexed. Lift the other leg straight and pointed toward the ceiling.
- Circle the pointed leg across your body, down, and around while keeping your pelvis stable. Repeat 5 times.
- Reverse the circle in the other direction, away from the body, down, and around, making sure to keep the pelvis stable. Repeat 5 times.
- Change legs and repeat.
Ensure your pelvis is level and stable. Avoid tipping it to one side as the leg extends out. Shoulders remain relaxed while maintaining the mobility of the hip.
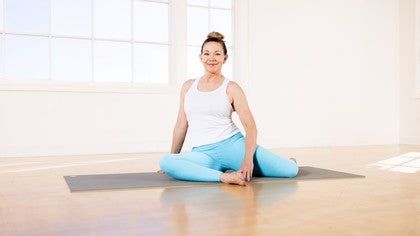
Single Leg Circle - Amy Havens
5. Rolling Like a Ball
This exercise will improve your abdominal strength and stabilize your core.
- Come into seated and hug your shins into your chest.
- Balance on your sacrum to lift your feet off the Mat and hold the body in a ball shape.
- Keep your knees shoulder distance apart with your ankles close together.
- Inhale as you roll back to your shoulder blades.
- Exhale, roll up to the starting position while keeping your spine curved.
Make sure to maintain the C-curve shape of the spine, while continuing to pull the abdominals into the spine, and roll evenly down the middle of the spine. The head and neck should not touch the Mat as you roll back.
Rolling Like a Ball - Amy Havens
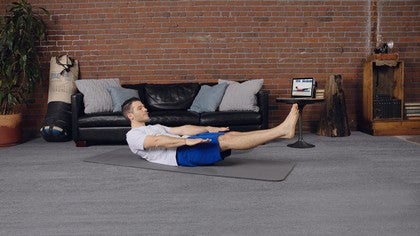
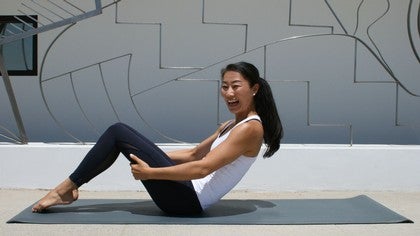
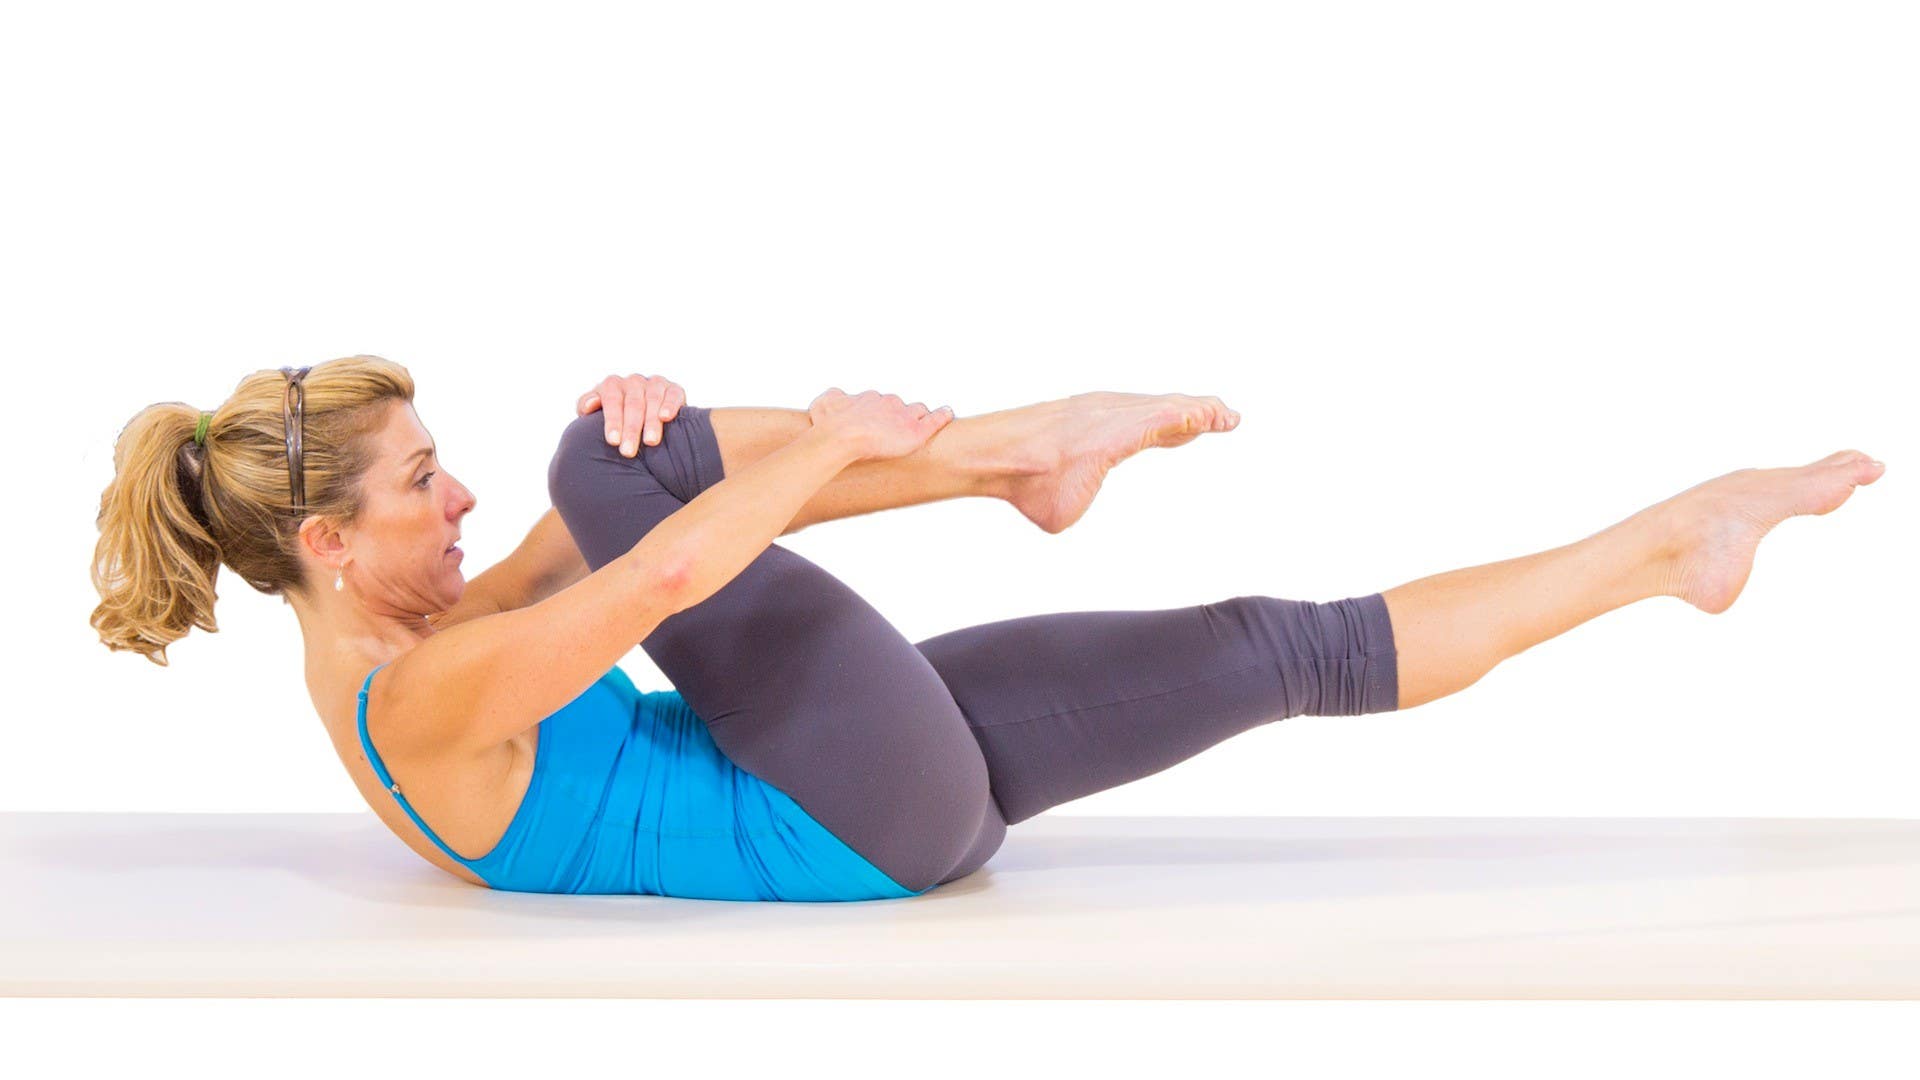
6. Single Leg Stretch
This Pilates exercise will focus on your abdominals and stabilize your core and the shape of your spine.
- Start by curling your head and shoulders off the mat and bending both knees into your chest.
- Extend one leg and place both hands on the shin of the leg by your chest. Place your outside hand near your ankle and your inside hand on or near your knee.
- Keep your knee in line with your cheekbone.
- Switch legs, extending the other leg, and pull the leg by your chest in the same way.
- Continue this motion and keep switching your legs.
Make sure to keep the pelvis and upper body stable as you switch between legs. Proper placement of the hands on the shins will ensure that the knees are tracking safely into the chest.
Single Leg Stretch - Amy Havens
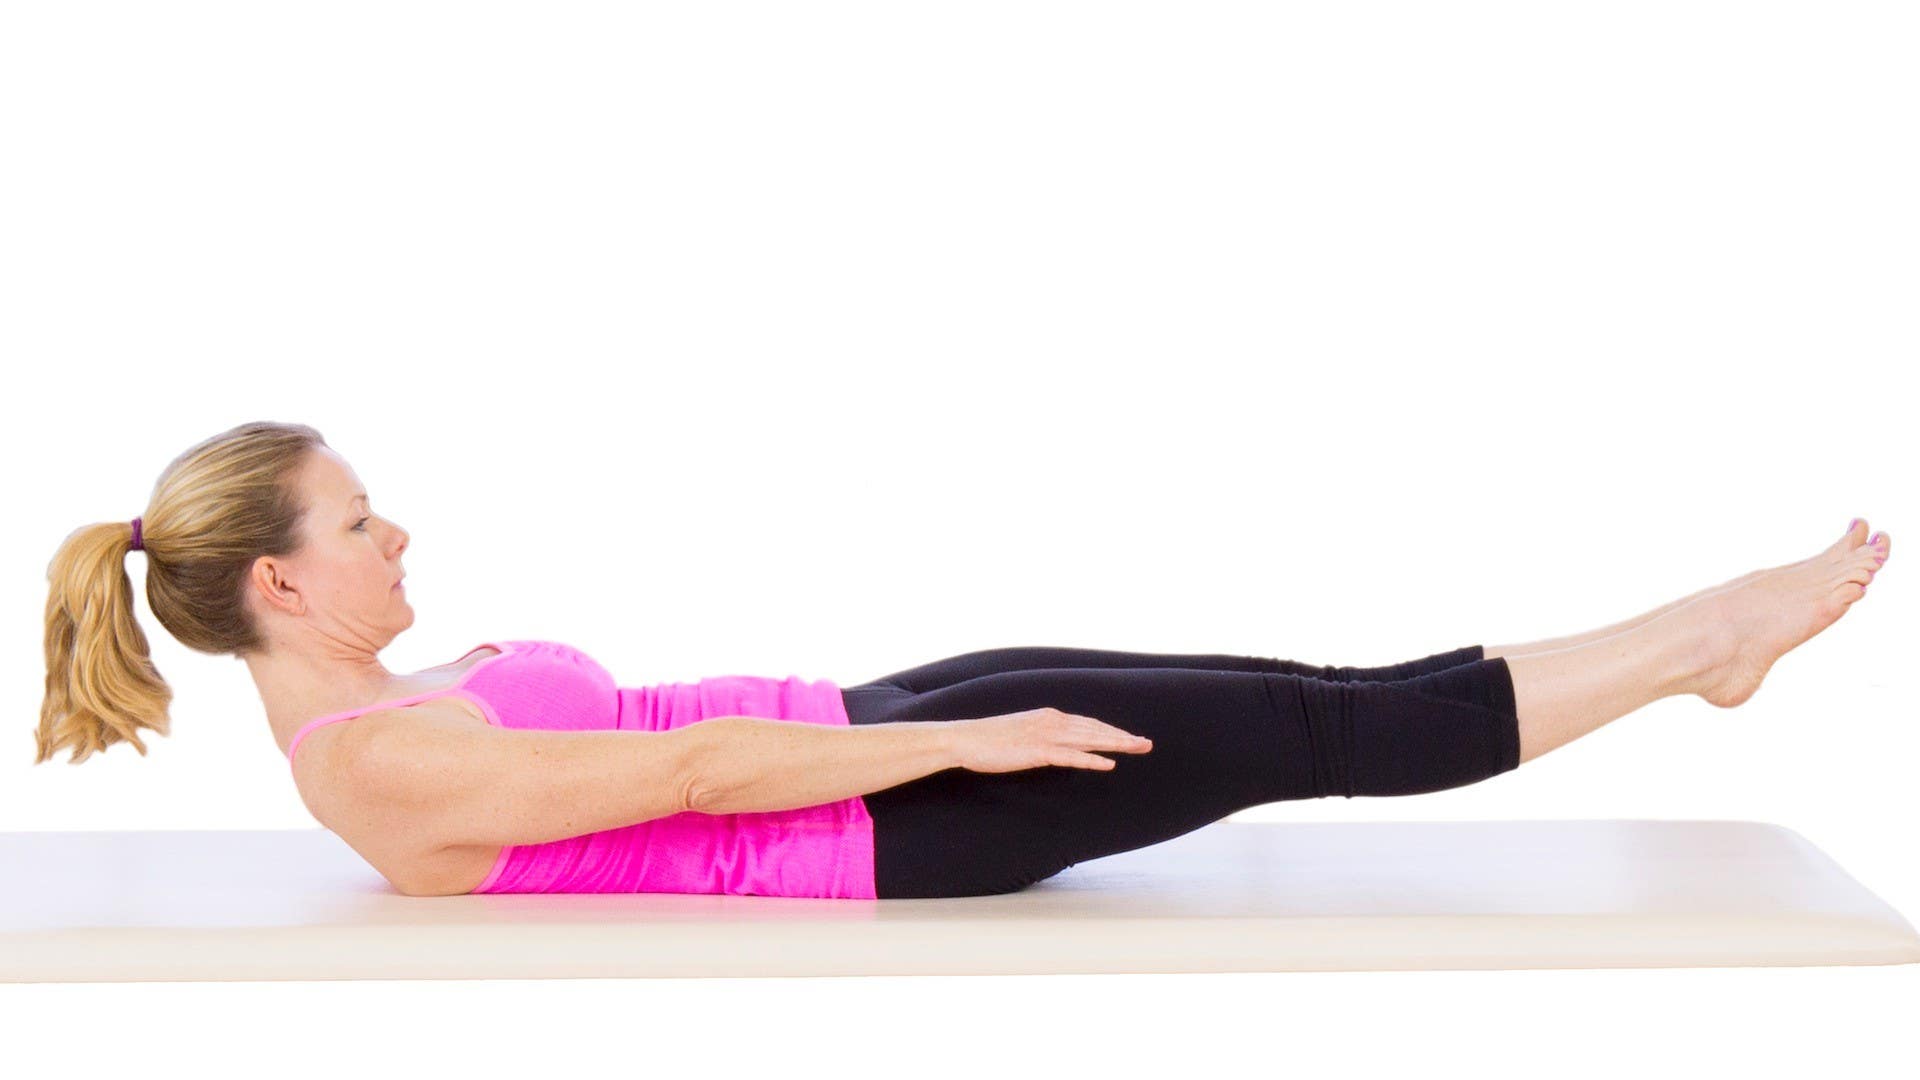
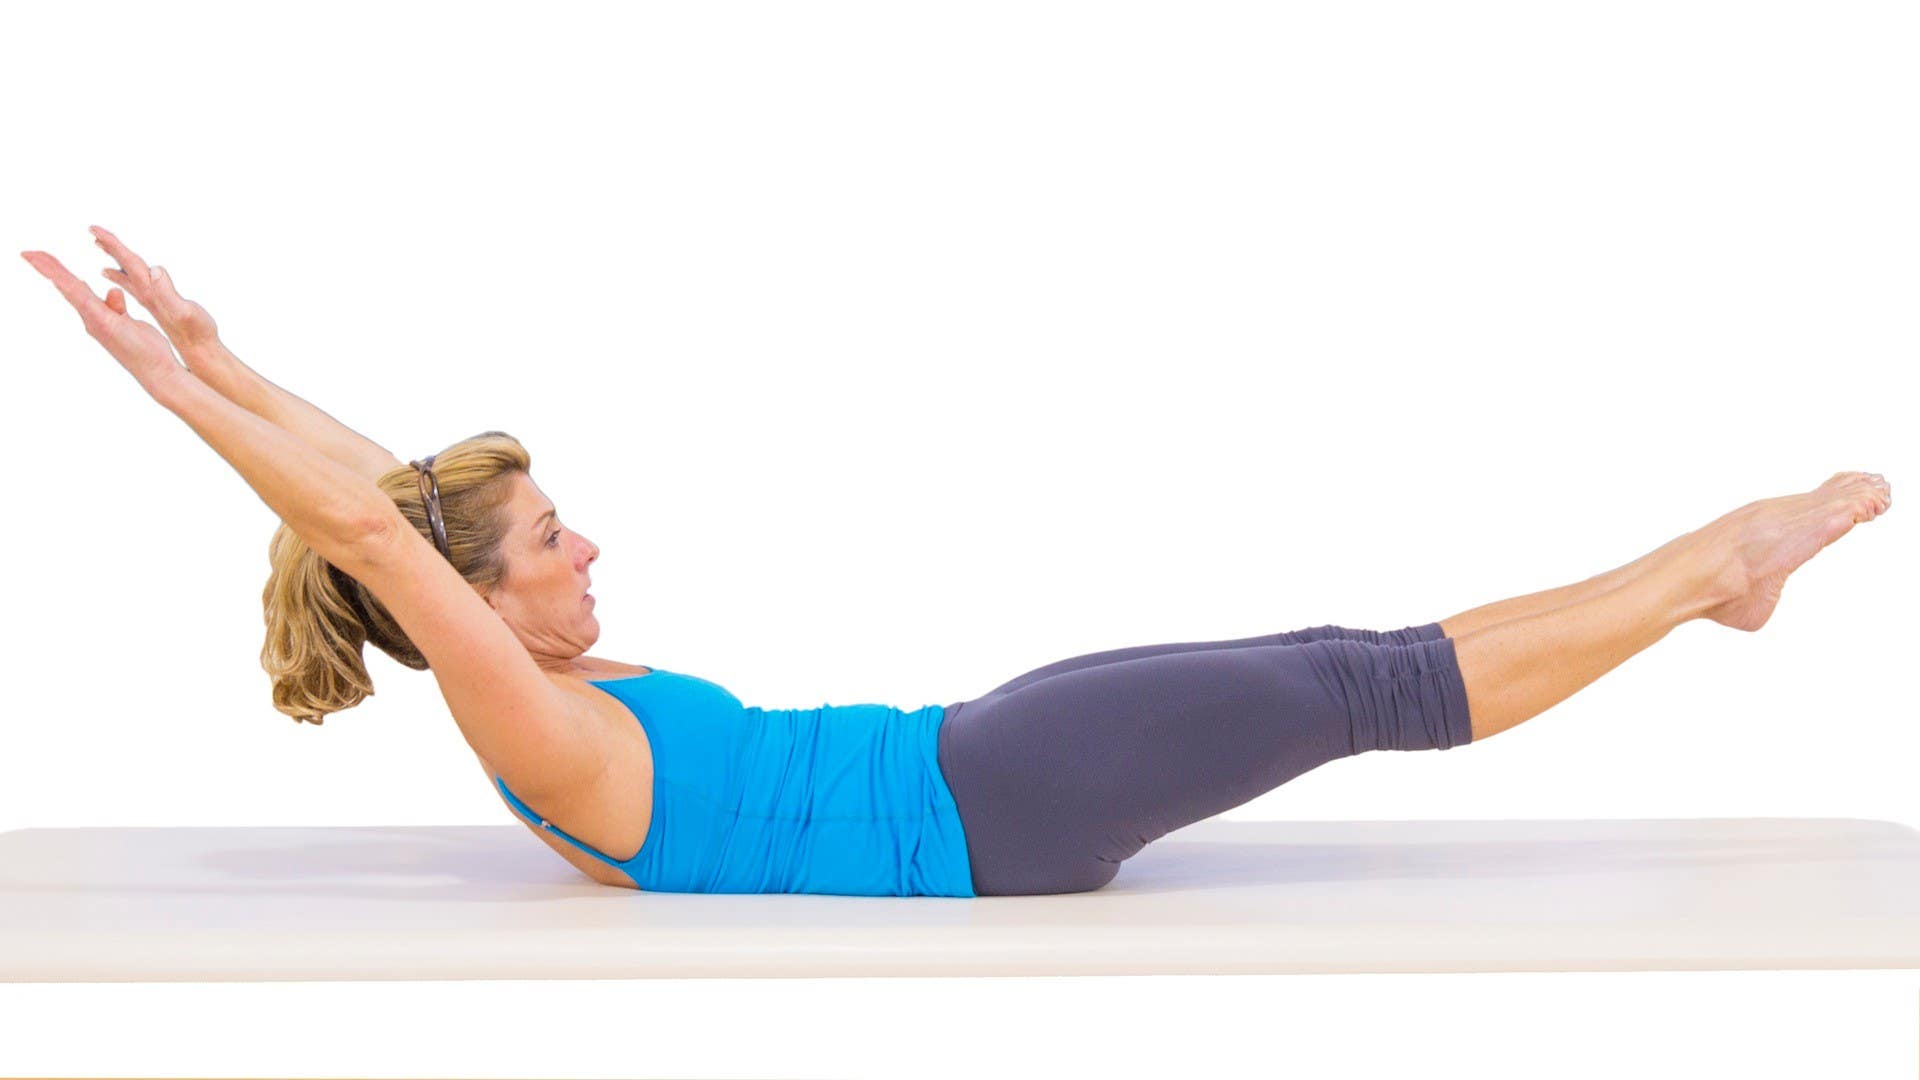
7. Double Leg Stretch
This exercise will strengthen your abs and stabilize upper body flex position.
- Start by curling your head and shoulders off the Mat and bring both knees into your chest.
- Place one hand on each shin.
- Inhale as you reach your arms and legs out in opposite directions on a diagonal.
- Keep arms shoulder distance apart and legs together with neck and shoulders lifted off the Mat throughout the exercise.
- Circle the arms around as you exhale, drawing the knees into your chest, squeeze by catching onto your shins to return to start position.
Make sure your shoulders stay lifted off the Mat throughout the exercise. At the same time, keep your back and pelvis flat and stable into the Mat. Keep the arms level with each other and shoulder-width as they extend out.
Double Leg Stretch - Amy Havens
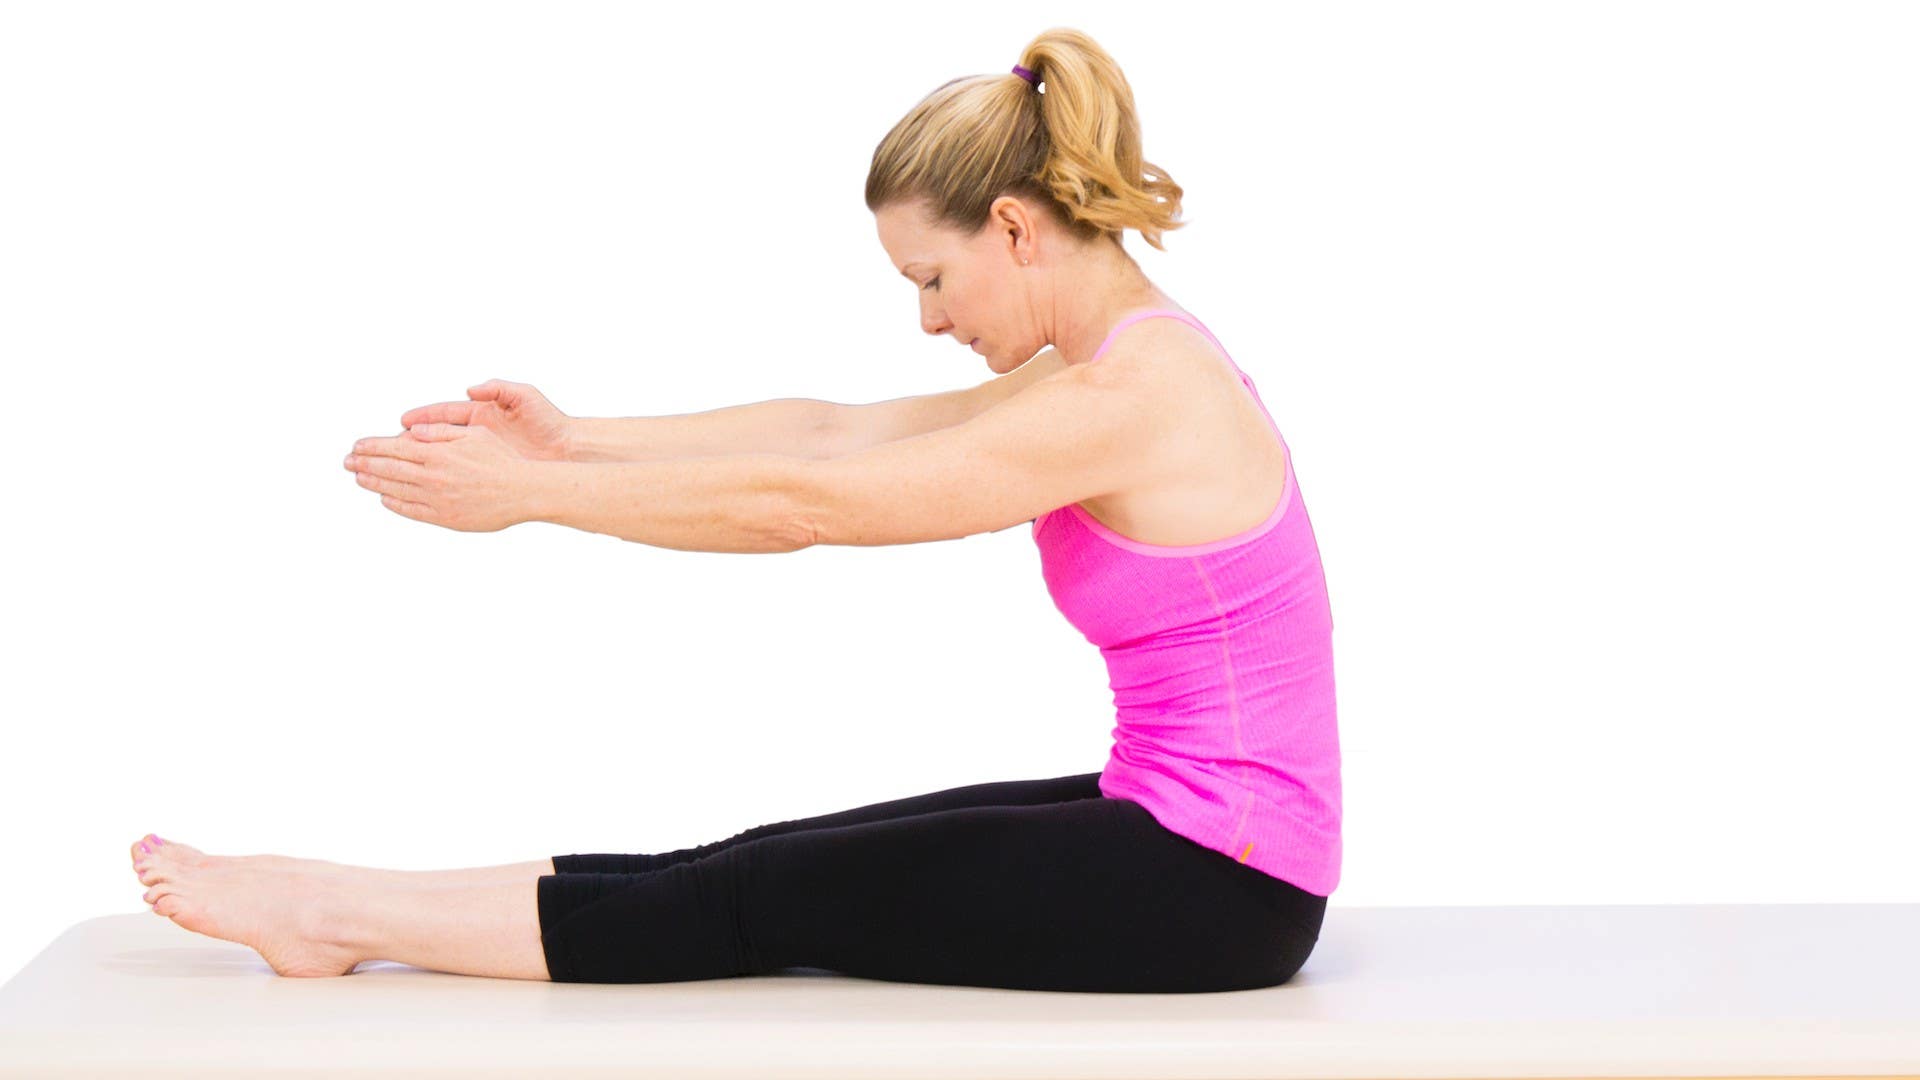
8. Spine Stretch Forward
The Spine Stretch focuses on your hamstrings and abdominal muscles.
- Start by sitting tall through spine, straighten legs on Mat shoulder distance apart, feet flexed.
- Arms reach forward, parallel to the Mat with palms facing down.
- Exhale as you roll forward through the spine, drawing the abdominals in, and keeping the arms parallel to the Mat.
- Inhale as you roll up, stacking the spine to return to start position.
Sit evenly onto the pelvis throughout, keeping arms shoulder level and shoulder-width apart, and preventing the shoulders from rounding forward into the chest.
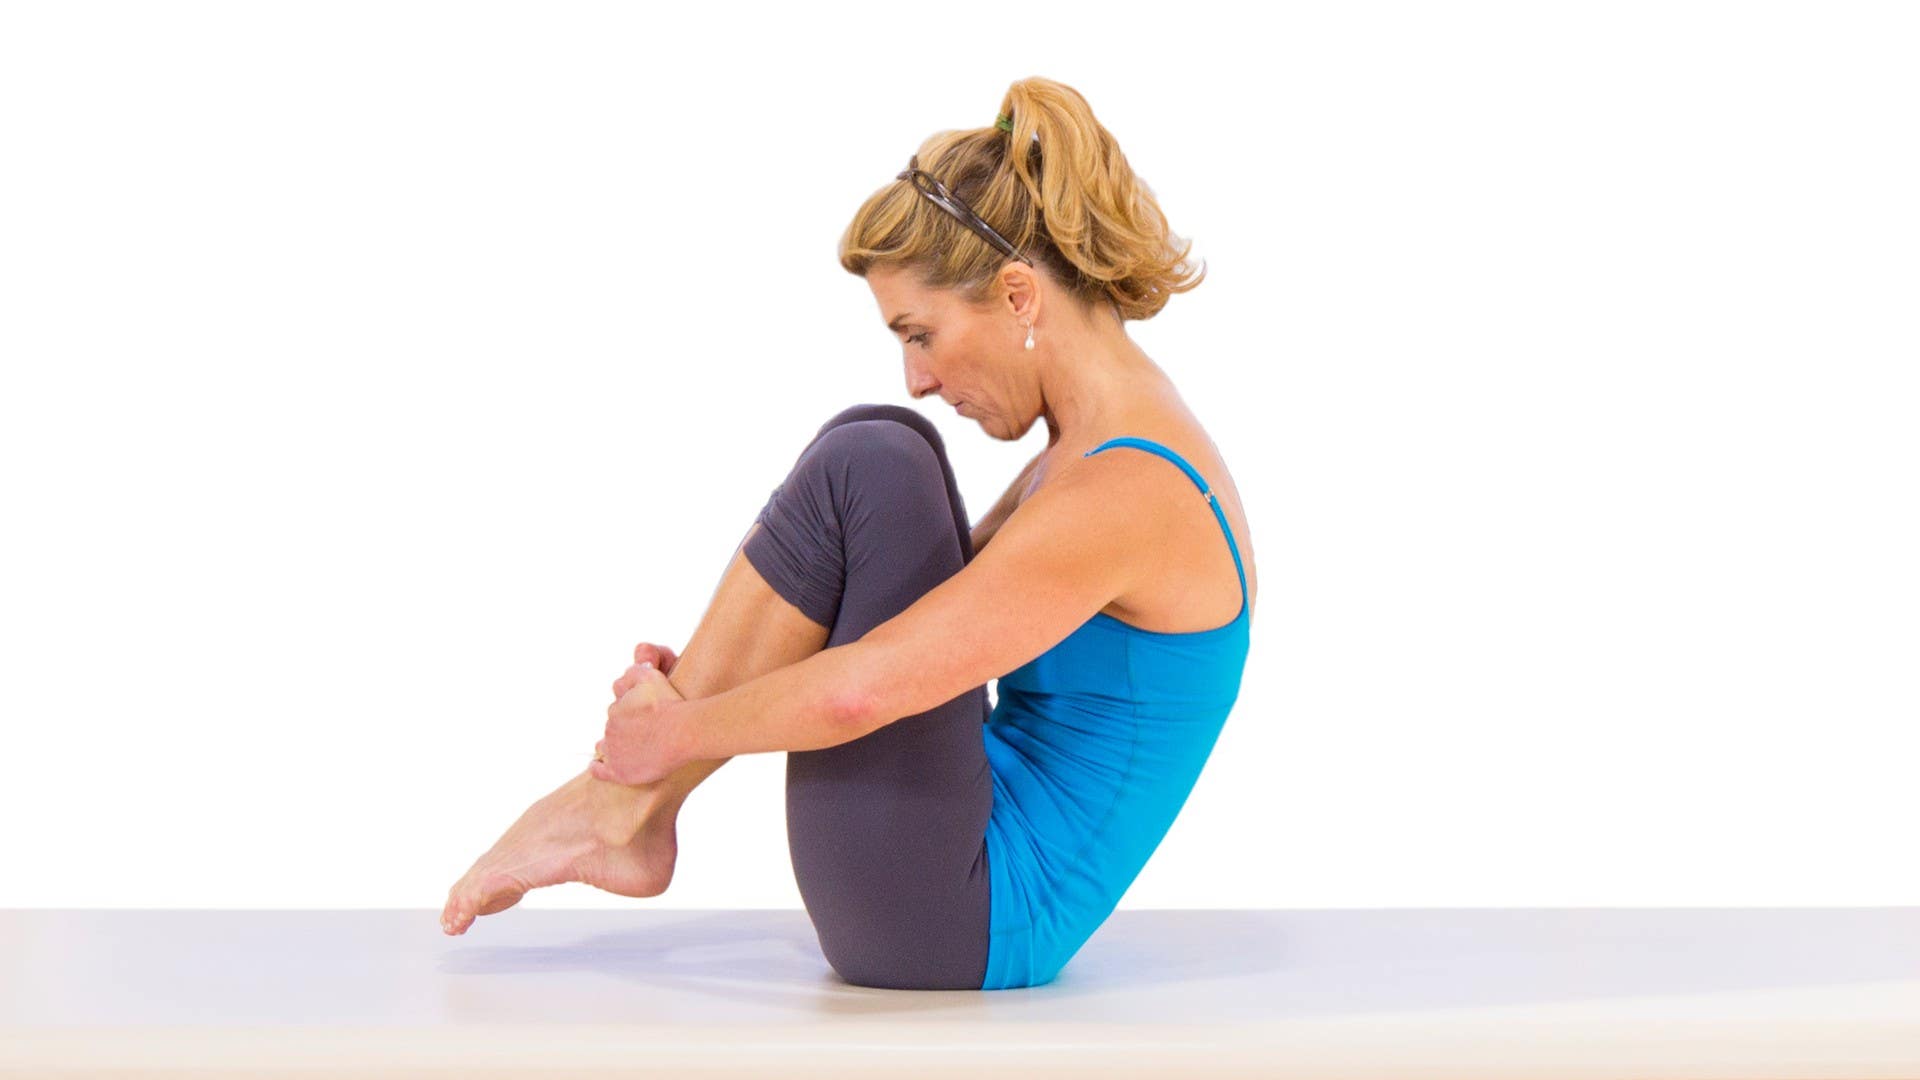
9. Open Leg Rocker
Also known as Rocker with Open Legs, this exercise focuses on your abs and helps with trunk and pelvis stabilization.
- Start by leaning back on the sacrum, bend knees and grasp one ankle in each hand.
- Extend legs straight and shoulder distance apart, draw abdominals in as far as possible.
- Inhale as you roll back to your shoulder blades.
- Exhale on roll up to start position.
Avoid rolling back onto the head and neck and prevent the legs from dropping too far overhead after rolling back. Keep the pelvis stable when returning to start position and avoid tipping or rocking the pelvis by maintaining deep abdominal control.
10. Corkscrew
The objective of Corkscrew is the strengthen abdominals stabilize the pelvis, and massage of internal organs.
- Start on your back, arms pressed into the Mat with legs together.
- Lift legs straight to the ceiling and roll over bringing the legs parallel to the floor, with the hips and feet level.
- Inhale while shifting both legs to the right and roll down through the right side of the back.
- Exhale and circle the legs around and roll over through the left side of the back, returning legs to start position.
- Reverse.
Make sure to keep correct alignment, and that the legs remain tight together without sliding as legs tip to one side or the other.
Corkscrew - Kristi Cooper11. Saw
Saw will work the abdominals, obliques, and back extensors. It will also help increase spinal rotation.
- Sit tall with legs extended straight and slightly wider than hip distance apart, with feet flexed.
- Arms reach straight to the side and shoulder height.
- Inhale rotate your torso to the right.
- Exhale dive forward reaching the outside of your left hand to the outside of your right foot.
- Inhale stack your spine staying in rotation.
- Exhale unwind to center.
- Repeat on the other side.
As you twist to one side, ensure that the pelvis does not shift and the torso does not lean. The lower body stays anchored into the Mat.
12. Swan
The Swan exercise will extend and strengthen your back and hip extensors, while also stabilizing your powerhouse.
Swan Prep
- Lie on your stomach with legs straight, slightly apart, forearms right by your side, elbows bent with your hands close to your shoulders. Head facing down to the floor with your head lifted in line with your shoulder.
- Exhale and draw your belly up, pubic bone to the floor and hold that.
- Inhale and start to look forward as you try and lift up but without pressure on your forearms, go as high as you can. Keep your ab muscles in.
- Exhale, keep the belly in, legs long and come down with as little pressure on your arms as possible.
- Inhale, head forward, go up as high as you can without pressure on hands. Once you can't go any higher, put pressure on hands and push all the way up until your pubic bone is off the Mat.
- Exhale and do the sequence in reverse - come down until you can keep yourself up without pressure on your hands and come all the way down.
- Repeat
Swan Dive
- Lift your abdominals away from the floor while sending your tailbone to the floor
- Press through your hands in line with your shoulders into Swan, maintaining a long spine and lengthened neck.
- Release your arms straight to the side as your body rocks forward.
- Maintaining the arc position of the body, the legs will lift off the Mat.
- Rock back onto the thighs, lifting the chest, and maintaining the extension and arc position of the body.
- Repeat.
Avoid lifting the chest and extending the spine so much in Swan that you feel a pinch in the lower back. Maintain the length in the back by lifting the abdominals to spine and lengthening the tailbone. Prevent the legs from releasing the arc shape by engaging the glutes, inner thighs, and back extensors.
Swan Dive should not be performed until you have learned and practiced the Swan and Swan Dive Prep.
13. One Leg Kick
Also known as the Single Leg Kick, this exercise strengthens the back extensors, the hamstrings, and the glutes.
- Lie on your stomach with your legs straight and together and prop yourself onto your forearms, bringing the elbows underneath the shoulders.
- Kick one heel into your seat two times, reach the leg straight, and place it on the Mat.
- Switch legs.
Precautions: Avoid strain in the lower back by maintaining a long spine. Pelvis stays imprinted into the Mat and stable. Keep knees close together.
14. Double Leg Kick
This exercise focuses on strengthening the muscles in the back and hip extensors and opening and stretching the muscles of the shoulders and chest.
- Lie on stomach and turn head to place one cheek on the Mat.
- Place hands clasped and high up on back, with elbows dropping towards the Mat.
- Kick both heels to the seat three times.
- Extend both legs straight as the hands reach to the feet while finding a back extension.
- >Lower the torso down and turn the head to place the opposite cheek on the Mat.
- Repeat.
Keep the pelvis level and pressed into the Mat as the feet kick. As the chest lifts, keep the neck lengthened and in line with the spine.
15. Neck Pull
Neck Pull focuses on your abdominals and back extensors, and also helps with spinal articulation.
- Lie on your back and place both hands at the base of your neck.
- Inhale lift your head and shoulders up, exhale roll off the Mat bringing the crown of your head to your knees.
- Inhale stack your spine straight to the ceiling and hinge back on a diagonal, exhale round the spine down to the Mat.
Avoid yanking on the neck or forcing the movement with momentum. Maintain the press of the legs together throughout.
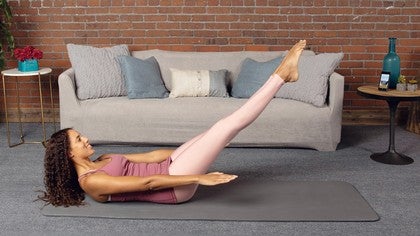
16. Scissors (High Scissors)
Scissors works your abdominal and hip muscles, while also improving flexibility in your abs, shoulders, and hips.
- Lie on your back. Bend both knees in, and roll through your spine, reaching both legs straight and parallel to the floor, and bending the knees in towards your chest.
- Place hands high on back.
- Reach both legs to the ceiling. Lower one straight leg to the mat as you draw the opposite straight leg towards your chest.
- Pulse the top leg towards you two times, and switch legs.
Make sure to maintain the alignment of the elbows in front of the shoulders and underneath the pelvis. Keep pelvis lifted and stable as legs change.
17. Bicycle
Bicycle follows Scissors as it is in the same position, further working on strength and flexibility in your abs, shoulders, and hips.
- Lie on your back. Reach legs on a high diagonal, and roll through your spine, reaching both legs to the ceiling, and bending the knees in towards your chest.
- Place hands high on back.
- Reach both legs straight to the ceiling. Lower one straight leg to the mat as you bend the opposite knee towards your chest.
- Cycle the legs through five times each leg.
- Reverse the direction of the legs for five repetitions.
Make sure pelvis stays lifted and stable as legs bicycle.
18. Shoulder Bridge
Shoulder Bridge will strengthen your hamstrings and glutes while increasing the flexibility of the front of the leg.
- Lie on your back with your knees bent and feet hip distance apart.
- Peel your tailbone and spine off the Mat to create a straight line from your shoulders to knees.
- Extend your right leg to the ceiling with foot pointed.
- Lower the right leg down towards the ground, flex the foot and bring the leg back to the ceiling.
- Repeat and place the right foot down onto the mat.
- Repeat with the left leg, then roll the spine and tailbone back down to the Mat.
Avoid arching through the ribcage. Maintain a stable and still spine and pelvis as the leg moves in the bridge.
Shoulder Bridge - Meredith Rogers
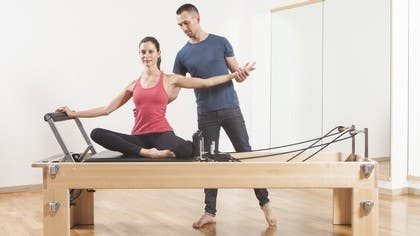
19. Spine Twist
With the Spine Twist exercise, you will strengthen the obliques and back extensors, as well as increase spinal and trunk mobility.
- Sit with legs together in front of the body and feet flexed.
- Raise arms directly to the side and shoulder height. Sit tall through the spine.
- Inhale reach the crown of your head to the ceiling.
- Exhale twist the torso to the right, growing taller on the twist and pulsing two times.
- Inhale return torso to center.
- Exhale twist the torso to the left, pulsing two times. Inhale return to center.
- Repeat.
Maintain a straight line from wrist to wrist through the shoulders, finding the twist in the rib cage and torso, and not the shoulders. Ensure that the heels stay in line as the torso twists, and avoid shifting through the hips and legs. Feels as though you are pushing through your heels into a wall. Sits bones stay anchored in place on the Mat.
Spine Twist - Adrianne Crawford
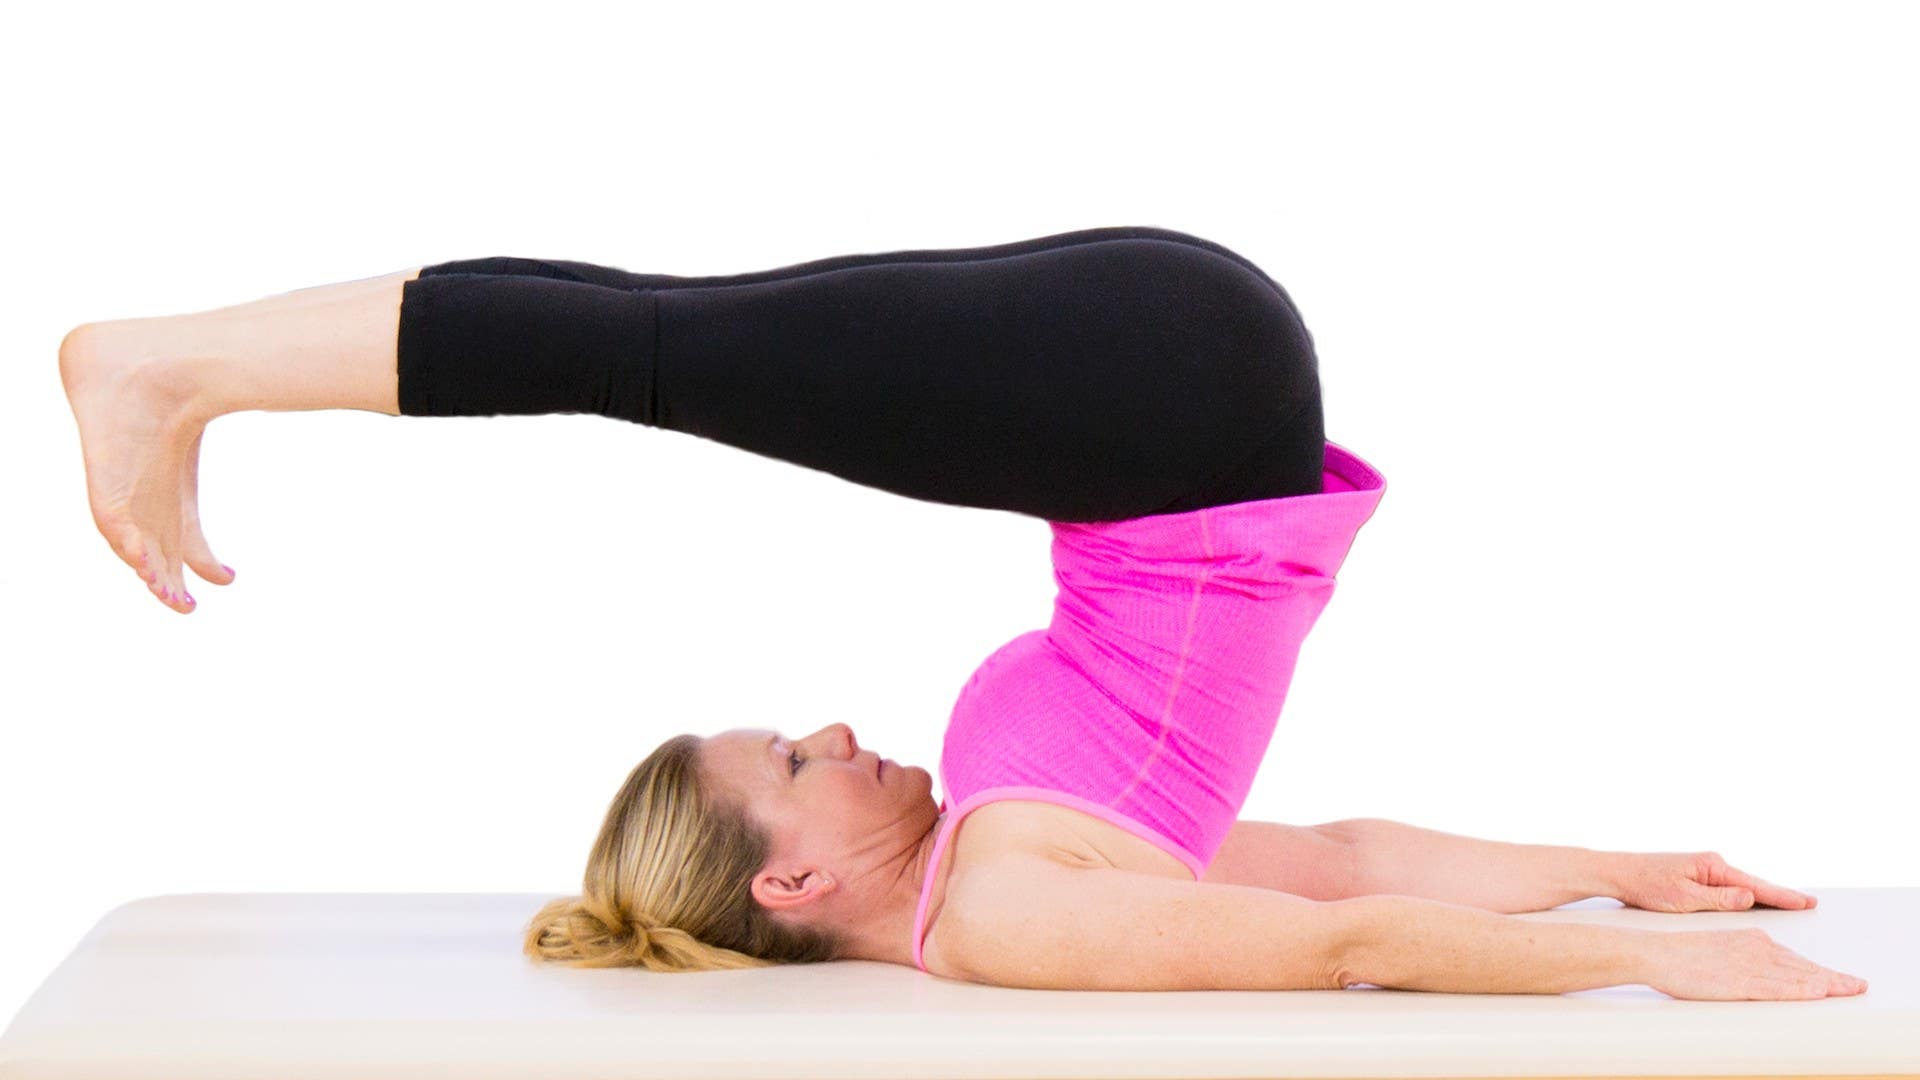
20. Jack Knife
Jack Knife forucses on the abdominals and hamstrings, strengthening the hip extensors and improving spinal articulation.
- Lie on your back with arms by your sides, palms down, pressing the backs of the arms into the Mat, and legs together.
- Extend both legs to the ceiling, draw the abdominals to spine, and roll over through the spine to take both legs almost parallel to the floor.
- While maintaining the lift of the pelvis and tailbone to the ceiling, reach both legs straight to the ceiling.
- Keeping the feet over hips as much as possible, articulate through the spine to roll down to the Mat, returning the legs to start position.
- Repeat.
Avoid rolling onto the neck, keeping head and neck long and released on the Mat. You should be able to execute the Roll Over prior to attempting the Jack Knife. Avoid this exercise if you have neck and/or spine injuries.
Jack Knife - Adrianne Crawford
21. Side Kick
Side Kick forcusses on hips, thighs, and abdominal muscles, stabilizing the powerhouse and strengthening the glutes, hips, abdominals, and back extensors.
- Lie on your right side in a straight line from shoulders to ankles.
- Prop your head on your right hand and place your left palm flat on the Mat in front of your chest.
- Move both legs in front of your hips on a slight diagonal.
- Lift the top leg off the bottom leg, and kick it forward two times.
- Lengthen the leg as you sweep it to kick back.
- Perform five or more repetitions, and then repeat on the other side.
Only move the leg so far forward or back as you can without moving the pelvis or crunching the lower back. Torso should remain still and stable throughout the exercise.
22. Teaser
Teaser works to strengthen the abdominal muscles and back extensors while also stabilizing the trunk.
- Lie on your back, drawing the knees into the chest and curling your head and shoulders off the Mat.
- Reach your legs straight to a 45 degree angle, and inhale to reach both arms in the opposite direction.
- Exhale roll up through your spine to bring your arms parallel to your legs. Inhale.
- Exhale roll away from your legs back down to the Mat until your shoulders touch the Mat and arms are by your ears. Legs stay at 45 degrees.
- Repeat three times.
- Bend the knees into the chest and head and shoulders rest on the Mat.
Avoid strain in the lower back by reaching your tailbone to your heels and your pubic bone to your nose. Not recommended for those with lower back injuries.
23. Hip Twist
Hip Twist focuses on the muscles in the abdomen, obliques, and back extensors, stabilizing the torso.
- Sit tall with your legs straight in front of you and together.
- Place your hands behind you on the Mat, fingers pointing away form the body.
- Inhale to float both legs off the Mat to Teaser position.
- Exhale circle both legs towards the right, down, around, and back to start position.
- Reverse the circle in the other direction, circling both legs to the left, down, around, and back to start position.
- If you can maintain a stable torso as the legs circle, challenge yourself by lifting the opposite hip off the Mat as the legs circle.
This is an advanced exercise, so make sure that you can perform the Corkscrew first. Focus on maintaining a stable torso as the legs and hips move. With shoulder tightness, bend the elbows and place the forearms on the Mat during setup rather than placing the hands on the Mat.
Hip Twist with Straigh Arms - Niedra Gabriel
24. Swimming
Swimming focuses on strengthening the backside of the body and helps increase spinal extension.
- Lie flat on your stomach with arms extended straight by the ears and legs extended and together (for less advanced practitioners, keep legs hip-width apart).
- Pull the abdominals to spine and float the arms and legs off the Mat. Gaze slightly in front of the body on the Mat keeping the back of the neck lengthened.
- Lift right arm and left leg towards the ceiling.
- Lower right arm and left leg as the left arm and right leg lift towards the ceiling.
- Switch. Increase the tempo until opposite arm and leg flutter.
Keep the shoulders pulling away from the ears. Eliminate strain in the lower back by pulling the abdominals in towards the spine. Maintain torso and pelvis stability as the arms and legs move.
25. Leg Pull - Front
The Leg Pull Front will strengthen the hip extensors and shoulder girdle while also stabiizing the trunk and the pelvis.
- Start in quadruped position with wrists placed underneath your shoulders and knees underneath your hips.
- Step your feet into plank position with legs and feet together.
- Point your right foot off the Mat, lifting the right leg towards the ceiling.
- Place the right foot back on the Mat.
- Point the left foot off the Mat, lifting the left leg towards the ceiling.
- Place the left foot down on the Mat.
- Repeat.
Ensure the pelvis and torso are stable as the legs move. Abdominals are lifted away from the Mat. Avoid lifting the moving leg so high that the straightness of the moving leg or the torso stability are compromised.
Leg Pull Front - Niedra Gabriel
26. Leg Pull - Back
Leg Pull Back exercises the back muscles, as well as the abdominals, hamstrings and glutes.
- Sit with your legs long in front of you. Place your hands behind you on the Mat, shoulder-width apart, with your fingers pointing towards your heels.
- Lift both hips off the Mat to make a straight line with the body from shoulders to ankles.
- Reach your right leg off the Mat towards the body, flex the foot and place it on the Mat.
- Repeat, alternating legs.
- Finish the movement by placing both hips back down on the Mat.
- Keep the torso and pelvis stable as the legs move.
Avoid hyperextending the elbows and the knees.
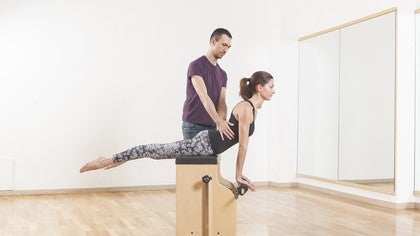
27. Side Kick Kneeling (Kneeling Side Kick)
Side Kick Kneeling strengthens the torso and glutes while also improving balance and coordination. The muscle focus is the abs and the glutes.
- Kneel onto your right knee and place the right hand on the Mat underneath your right shoulder.
- Ensure that your left knee is in line with your left foot, and your right hip is placed directly over your right knee.
- Place your left hand behind your head.
- Kick your left leg forward and back while keeping the torso stable.
- After a number of repetitions, place the left knee onto the Mat and repeat on the other side.
Make sure to keep the torso and pelvis stable as the leg moves. Actively lift the side body away from the Mat while drawing the abdominals in and up.
Those with knee problems should avoid this exercise.
Side Kick Kneeling - Monica Wilson
28. Side Bend
Side Bend focuses on the abdominals, obliques and shoulder stabilizers.
- Sit sideways with your legs bent to one side, with the top foot placed in front of the bottom foot (or stacked one on the other).
- Place the supporting hand in line with the seated hip a few inches in front of the shoulder.
- Press into supporting hand and straighten the legs to lift the pelvis away fro the Mat, making a rainbow shape with the body.
- Press down through both feet to lift the waist and hips to the ceiling.
- Slightly bend the knees and and lower both hips to towards the Mat until the side of the calf touches the Mat.
- Lift the hips and waist towards the ceiling to again make the rainbow shape with the body.
- Repeat.
Ensure that the bottom shoulder stays pulling away from the ear and that both shoulders are stacked one on top of the other. The body should be in a line as if it is between two walls.
29. Boomerang
Boomerang works the muscles in the abdominals and inner thighs to stabilize the hips and massage the spine.
- Sit tall with legs extended in front of you, the right ankle crossed over the left. Palms are placed on the Mat by your hips.
- Lift both legs off the Mat, roll over to a 90 degree angle, open and close the legs, switching the cross of the ankles. Backs of arms are pressing into the Mat for stability.
- Roll down through the spine without dropping the legs to balance in Teaser with arms parallel to the legs. Clasp your hands behind your tailbone and, while keeping the abdominals drawn in and close to the thighs, maintain the Teaser position as you lower the legs back to the Mat.
- Circle the arms overhead, bringing the hands to your ankles, and roll through your spine to sit tall.
- Repeat four to five more times.
Avoid this exercise if you have neck and spine injuries.
Prior to executing this exercise, it is important to have practiced and successfully executed the Teaser and Roll Over
30. Seal
Seal exercises the abdominals to help with trunk stabilization and spinal control/massage.
- Sit with hips close to feet, knees bent. Lace your hands between your legs and hold on to the outsides of your ankles with your feet together and knees shoulder distance apart.
- Make a C-curve with the spine and gaze into your abdominals. Balance just behind the sits bones with your feet floating off the Mat.
- Clap your feet together three times.
- While maintaining the C-curve shape, inhale roll back to balance on the shoulder blades with the hips over shoulders and clap the feet three times.
- Exhale roll through the spine to return to start position with feet floating off the Mat.
Maintain the C-curve shape of the body throughout. Avoid rolling onto the neck.
31. Crab
In this next exercise, Crab, you will continue to focus on the abdominals to build strength and control.
- Sit cross legged, bring your knees to your shoulders and hold the tops of both feet with your hands.
- Curl into a ball, gazing into your abdominals, and pulling the abdominals to the spine.
- Exhale and engage the powerhouse to roll onto your knees, keeping the spine in a C-curve, rolling forward until the top of the head comes to the Mat and the hips are directly over the knees.
- Inhale, maintaining the C-curve, roll back to balance on the shoulder blades, with hips over shoulders.
- Let go of your feet, switch the cross of the legs, and grasp back onto both feet.
- Exhale return to start position and repeat.
Avoid this exercise if you have had a neck or spine injury.
It is recommended that you are proficient in performing Rolling Like a Ball and Seal prior to attempting this exercise. Maintain the C-curve shape of the spine and the lift and scoop of the abdominals.32. Rocking
Rocking will exercise your back extensors, glutes, and hamstrings while increasing spinal mobility.
- Lie flat on stomach with arms by side, head turned to one side.
- Bend both knees and hold onto both ankles.
- Press your ankles into your hands and lift your chest and knees away from the Mat by engaging the backs of the legs and the back extensors.
- Maintain this shape as you rock forward and back. End with a stretch in child's pose.
Avoid this exercise if you have back or knee injuries. Prior to performing this exercise, you should be able to proficiently execute the Swan and Swan Dive.
33. Control Balance
Control Balance works your abdominal and hip muscles, while also improving flexibility and balance in your abs, shoulders, and hips.
- Start on your back and take both legs overhead and reach the floor with your feet (not necessary as you may only be able to do this later).
- Circle arms and hold right ankle with both hands.
- Lift left leg to the ceiling. Make sure the neck and spine is long.
- Bring leg down and switch legs.
- Repeat.
Control Balance starts in the same way as the high scissors but promotes balance as you switch legs. This exercise may not be suitable if you have a shoulder or neck injury.
Control Balance - Benjamin Degenhardt
34. Push Up
Push Up will work out your triceps, chest and upper back muscles.
- Stand at the back edge of the Mat with feet together.
- Roll down through the spine to place the hands on the Mat.
- Walk the hands out for four steps until the shoulders are over the wrists and the body is in a plank position.
- Bend the elbows towards the ribs in a tricep push up three to five times.
- Pike the pelvis towards the ceiling and walk the hands back to the feet in four steps.
- Roll up through the spine to standing.
Avoid sinking in the shoulder girdle and pelvis during the tricep push, while maintaining the draw of the elbows into the ribcage
Conclusion
Doing these exercises in this order will appropriately warm up and strengthen the body. Joseph Pilates designed them in this order with one facilitating the next.
For beginners, the later exercises on this list may be a challenge and it may take some time to work up to being able to do them fully. Make modifications as necessary, but keep moving!

Marchel Ackler
Comments
No comments yet. Be the first!


You need to be a subscriber to post a comment.
Please Log In or Create an Account to start your free trial.