What's a Course?
You can now make playlists of select programs into courses!
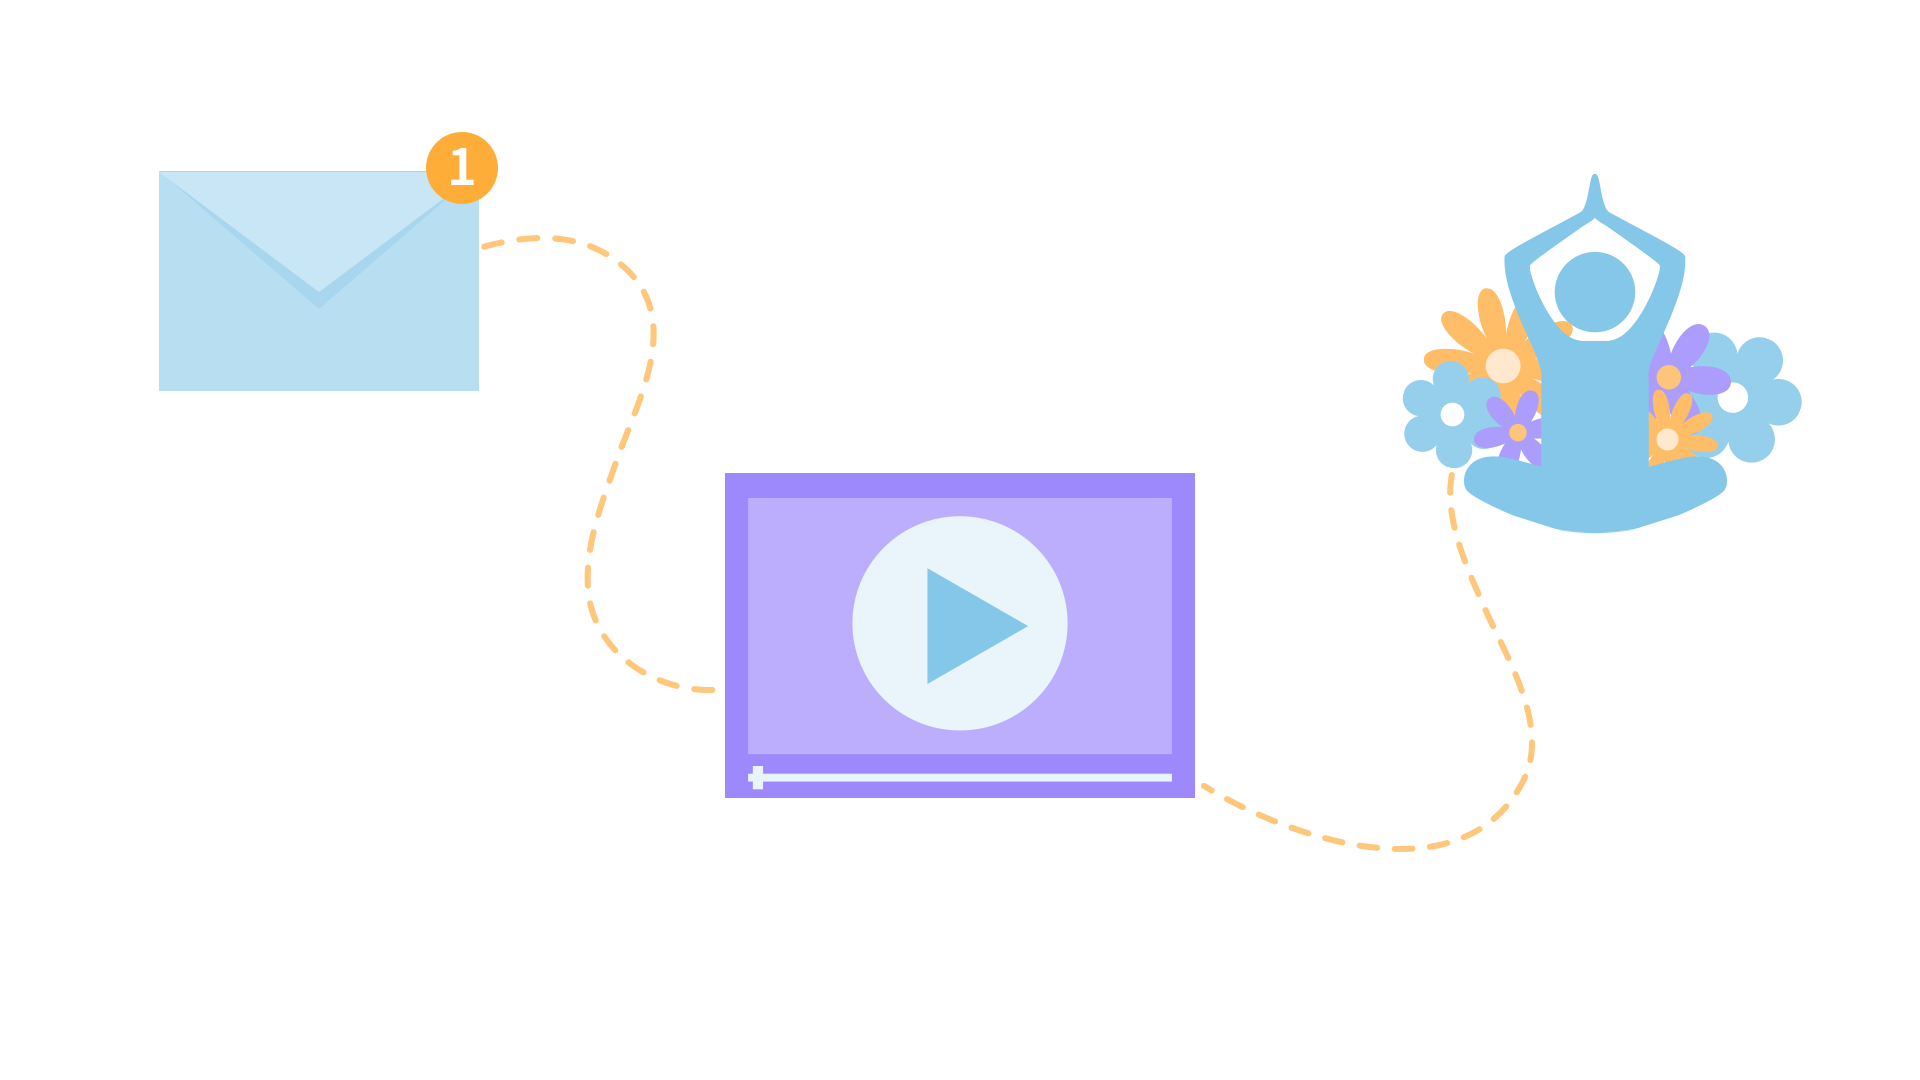
1. Schedule regular emails to deliver the content direct to you.
2. Watch your assigned videos to focus on the course goals.
To take a course for this program, first select a playlist and then click the "Take as Course" button for that playlist.Description
Shelly starts with a brief explanation of what to expect in this class. The movement begins at around 1:28.
About This Video
Transcript
Read Full Transcript
Hi, everyone. Thanks for coming to class. Today, we're working on an adolescent whole body health class. It is part of our healthy knees series, but really this could be a healthy movement series for any part of the body. And remember, that was one of Joseph Pilates' guiding principles, whole body health.
So we really wanna make sure that we are doing that, we're doing exercises for every part of the body. And this class in particular, with this population of young adults, we need to be really conscientious about if they are in their growth spurt. So if they're in puberty and growing, this is not the time to work on flexibility, although that is what you'll hear. A lot of kids say, like, "Wow, I used to be able to do this, but now I can't." And so they go the extra mile to continue to do what they used to do and that's not really the right approach. We need to be a little bit more respectful of the body because it's changing.
And so we'll work on things but always within a level of comfort. So stretching is okay if it's mild but we don't wanna do a lot of heavy and aggressive stretching at this point. So lots of movement, lots of fun still. It's important to have fun, to laugh every once in a while. And again, focus on this full movement through the body.
So we're gonna get started and here we go. So thank you, guys, for coming to class today. Why don't you lie down on your backs, and heads that way and feet this way. Yeah, and get comfortable there and pull your knees into your chest. That's right.
Now, on this knee circle, it's really important that you guys use your arms to help support your legs. So you can pull your knees a little towards you and then open them out to the sides and circle around and you just do it at your own tempo, what feels good, maybe three or four in each direction. And use your arms and your hands. That's right. And then reverse, go the other way a couple of times.
So we're just starting to get some movement in your hip joints, feels good, nice way to start the class. And then pause when your legs come back together. And this time, keep your legs together and now circle your legs in one direction and around. And again, do a couple in each direction. And you might feel your pelvis moving in a circle, and that's great.
That's one of the exercises we often do called pelvic clock. And then go the other direction a couple of times. And again, hold on to your knees and really use your arms to support your legs as you're going around and around. That looks great. And then come back into the center and pause with your knees in.
And we're going to use the ball now. So any ball really will do. It just needs to be soft. So a basketball probably wouldn't be the best choice, but something soft. And you're gonna put it in between your shoulder blades.
So probably sit up, I guess, is maybe the easiest way to do it. Grab your ball, and then put it up between your shoulder blades. Yeah, and then hold the back of your head. Your elbows can be up a little bit. And this is important.
Sometimes when the elbows are back, it tends to pull you back. So for the starting position, have the elbows a little bit up and then take a big luxurious stretch over the ball. Should almost feel like you're yawning. It should be the best feeling. And if it isn't the right place, roll a little bit up, roll a little bit down till you find the place that's really good for your body.
And then start to do a chest lift. So you're gonna start to curl up, kind of looks like a crunch, and you're gonna look a little bit over the top of your knees and make your back round, and then go back and stretch over. So sometimes people think on these crunches, and in Pilates, we call it a chest lift, roll up, that you're supposed to lift up really high. And actually, you're not to lift up really high. You're staying on the ball, that looks great, and roll back again, and the ball is supporting you.
So when you roll up, it shouldn't feel like a lot of work. The work is coming later. (laughs) You're just getting to that point where you're rounding your upper back. Yeah, and then roll back over. So this time, let's actually do the chest lift exercise. So do your same motion, rolling up, elbows a little bit forward and now reach to your legs and hold onto your thighs and make the curve deeper.
Don't lift up higher but make it deeper. Yeah, that's great. And then stay there. Take your arms back and support your head and then do the big luxurious stretch backwards. And do it again.
Roll up a little bit and then reach to your legs and use your arm muscles and your hands to curl deeper. That's right, just feel like your ribs are going backwards a little bit. Now, see how long you can take to get your hands behind your head. How long, how long, how long, how long? Yeah, then hold your head and roll back.
One more time. When you have the ball there, that's kind of easy. When you don't have a ball there, it's kind of challenging. (laughs) So curl up, elbows a little forward, reach to your legs, curl a little bit deeper. Now let's see, how long? Stretch your arms forward.
And can you keep the position and keep the position and keep your arms straight. Go Hannah with arms straight. Not yet, go out here. Yeah, that's it. Now you feel it more, don't you? And then hold your head and then stretch back.
That's the last one. So take this long stretch. It should feel really good. All right, and then just kind of roll off to the side and you can just put the ball to the side. You can start lying on your back again.
And hug your knees in one more time. And this time hold onto the backs of your legs instead of the tops of your knees. And we're gonna do a roll up. So start to look in this direction and go through the same little chest lift piece that you had a second ago, and then roll all the way up to sitting. Come up to sit and your feet will go down to the floor.
That's right. Grow tall so you feel like the top of your head is reaching up to the ceiling and then leave your feet on the floor and begin to roll backwards. You're gonna go all the way down but your feet are gonna stay down for a second. And then as you get farther down, you'll just hug your legs into your chest. That's right.
And again, curl up. And so usually, when you're curling up, it's nice to exhale, mostly because it lets the air out and you're a little bit more pliable. And then roll back one more time after this one. Beautiful, really nice work, ladies. And last one, roll up.
So this is the assisted version of the roll up. Now, stay sitting this time and grab your band. And you, of course, don't have to do this with a band and a band really isn't Pilates, it's not in the Pilates repertoire, but it's fun to use props and things. It makes it more interesting. And these props are also giving us assistance so that we can do the movement a little bit better.
So you guys are in the right position. So it's looped around the soles of your feet. And depending on how much help you want, you're gonna really use a lot of the band tension or you don't have to use so much. And then roll back maybe halfway, and then come back up. So I always say, go back as far as you can before it's too late. (laughs) And you roll all the way down.
So roll back. And again, you're getting that curve shape, and then roll up. Good, and you guys are doing a really nice job of just keeping your gaze out at the horizon. Oftentimes, really common mistake is to look up to the ceiling and that's not so good. Last one, one more time.
When you come back up to sit tall, feel like, stay up tall for a sec, feel like you get tall from way back here, yeah. And then roll back. That's great. Come back up. Now we're gonna add in some rotation or a twist to it.
Now you may not want the same tension. You might have to loosen the tension a little bit and you'll kind of figure that out as you do it. So roll back again about halfway and then hold here and start to bend one arm. Let's all bend and look this direction toward the camera, and then forward, and twist away. Right, and so feel like your whole rib cage, your whole center is twisting.
Keep going. That's it. And as your ribs are twisting, your knees and your thighs are staying pretty much in place. Do one more each way. So look back and kind of out and over your elbow.
Last one. Now, keep the twisting going but look forward. So look toward me, keep twisting, but look forward. So for whatever reason in exercise classes, we always look around, but in function, in day life, right, you wouldn't walk up to something on a shelf and look away from it and reach to it. So functionally, we actually look forward when we're twisting, when we're walking, and running and all of those things.
Yeah, maybe do one more. Good, it's kind of funny to do that, isn't it? (laughs) It feels kind of weird. All right, let that go. Come up to sitting and just place your band over to the side. So again, in any Pilates class, doesn't matter the age, practice doing things that look behind, but also practice things that look forward because that's how we function in our daily life.
So roll back onto your backs one more time and bring your feet a little closer to you and we'll get ready to do a bridge. So the hands can stay down to the sides. And you're gonna begin to tilt your pelvis a little bit and roll up into a long line. So your hips and your shoulders and your knees, that looks great, and then roll down. And one of the things that happens and it's really common, go into your bridge again, is that people lift up so high, lift your ribs up even higher.
They start to do that. And that could be okay but that's not the bridge we're doing today. So you wanna stop in the straight line and then roll down. Good, and roll up. That's right, and roll down.
And there's always a sense of length in your spine. It's really common to wanna tuck the pelvis really tightly. Doesn't really help anything. It doesn't make anything better. So roll up one more time, and hold there.
Now, you might feel like you need to wiggle your feet together a tiny bit 'cause we're gonna start to now march or lift one leg into tabletop and then put it back down and do the other side. And just keep going at your own tempo. And so you'll notice when you start to lift a leg, the body wants to kind of sway a little bit. That's fine. That's really normal to have happen.
You just wanna try to control it. So do one more on each side. And you guys are doing a really nice job of keeping the body position. And then once your foot is down, pause, roll yourself down and take a break. Hug your knees into your chest.
And it's time to get into the hundred. Yay, everybody smiles when I say the hundred. I don't always know that they're happy though. (laughs) That's the one exercise everybody knows. So we're gonna do it with some options. So you guys are gonna start at tabletop and with your hands pumping, your arms pumping like the normal way.
If you get tired in the middle of it, take one of your hands and put it behind your head. That's fine, right? It's better to have good form and not be uncomfortable in your neck. And then if you want to, you can stretch one leg out or the other to make it a little bit more challenging. Ready?
Here we go. So use your legs, use your hands on your legs to help you roll up. So hold your knees or hold your thighs and do that little chest lift again, just the little baby one, yeah. All right, so once you're in a good position, stretch your arms out and start to pulse your arms about this tempo. (fingers snapping) Yeah, and for five of those beats, you're breathing in, and five, you're breathing out. And you're trying to maintain your body position.
That's the main thing. So when you breathe in, you wouldn't want your back to arch. Just keep it there. Good, but keep breathing. And if you feel like your neck is getting a little bit tired, see if you can curve a little bit more and curl up more.
Yeah, that's it. And if you want to, as you keep going, you can stretch maybe one leg out a little bit and notice how it gets a little bit more challenging. So somebody stretch a leg, please. There you go, yeah. (laughs) And then back in and then maybe stretch the other leg. You guys are doing great.
And should we try the both legs extended? Not too low, maybe just one more set with your legs extended up maybe this height. Yeah, keep curling up on your last set. I know, everybody's smiling. Roll down, take a break.
Hug your knees into your chest. Well done, ladies, well done. Yeah, it's hard at the end, you get tired. (laughs) Yeah, very nice. So that's the hundred and a lot of people think it's about really engaging and tightening your abdominal muscles, but really, the hundred is about maintaining the body position and being able to breathe comfortably. So it's the same, you know, through all of our Pilates exercises, we don't wanna strain to do them, we want them to be comfortable.
All right, let's get into criss cross. So this is one that you see in the gym, you see when people work out and it's usually really fast and doesn't have a lot of form. So we're gonna make it a little bit more meaningful. So again, hold onto your legs and curl up a little bit. Yeah, and just hold there for a second.
Now, put your hands behind your head and keep your elbows a little bit forward and then start to bring your body into rotation. Stretch one leg out and stretch to the knee. So whichever side you're gonna go to, yes, and then change. And you just keep going kind of slowly at your own tempo. So we have a pause in the middle.
So when you come back to tabletop, you pause for a second, and then you go to the other side. And make sure, yeah, you guys are doing great. And you can make it a little bit quicker now so we can go twist, center, twist, center. Good, bring your shoulder to your knee more than your elbow. Twist, center.
Good, one more on each side. Twist, center, fantastic. Last one, stick with it. And rest, roll down. Ah, let your hands go.
Let your body go. Take a breath. Put your feet down. (laughs) This Pilates stuff is no joke, it's real. All right, so we just did a bridge.
Now we're gonna do a bridge with a leg circle. So this is combining two different Pilates exercises together. So scoot your feet, your feet, and good, Olivia. Bring 'em a little closer maybe, Emma, yeah. So you wanna have your feet close enough that when you pick your leg up, you're not gonna wobble too much to the side and you guessed it, you already know what to do.
Take your hands wider off of your mat and a little bit out to the side. This is like training wheels, kinda helps you out. All right, so roll into your bridge like you did before and pause when you get to the top. Really nice positions. Now take one leg up to tabletop and then just gently lengthen it toward the ceiling.
It does not have to straighten all the way. Start to go down toward the floor and a little circle out and around. Yeah, do two in that direction. Only as big as you can keep everything in alignment. Now go the other way, go out and around.
Yes, very nice. Last one. Use your breath. So if you feel like it's tough, exhale a little bit, bend that knee, bring it down. Let's do the other side.
Tabletop, extend to the ceiling. Go down first and then a little out to the side. Yes, so when it's tough, exhale. (exhales deeply) And you don't really need to hear it. Go out now, go back around. Yes, very good.
And last one out and around. And then put both feet down. Roll your body down and take a break. Well done, that was great. So again, anytime you're feeling like you're wobbling, don't really think of that as a mistake, think of that as information.
So you wobble a little bit and next time, you know what to do to make it not wobble quite so much. You'll feel what to do in your body. So from here, we're gonna go into side kicks. So I'm gonna have everybody roll to your side, facing the camera and put your forearm down and then try to align your body as long on the long line as possible. And ever if you feel like you are really having a tough time balancing, bring your feet a little forward.
So everybody move your feet forward a couple of inches. So now you have more balance there. So find the place that feels good for you for that. And then let yourself kind of sag down a little bit. I call this the TV watching position.
And then you go to Pilates class, and you get back up here, and then you sink down a little bit and maybe move your elbow. Yeah, you're moving in the right direction. So sink down and move up. And that motion's important 'cause it means your shoulder blade can move, but we don't wanna live in the down position. So press up, come to Pilates class position.
And we're gonna keep that now and just hover your top leg a little bit up, so your leg is horizontal, and then start a small movement forward and back. And this is just like what we talked about for lifting the leg in the circle. You wanna move your leg as much as you can, but with the least amount of movement in your body. This looks good. Front and back. (laughs) Good, keep engaging through your arm muscles to keep you lifted a little bit.
And on the next one, leave your leg behind you and we're gonna go into a bicycle. So when you bend, keep your thigh in place and then sweep it to the front and stretch it out, and then go back and around. We'll do four bicycles. Very nice. And again, if you feel like it's kind of tough to get your leg way out in front of you, don't go so far or don't straighten it all the way.
Really nice positions. All right, and take your leg back one more time and you're gonna do a really nice stretch. So take your top arm and reach it out that way and your other leg back, and you can keep your leg straight, and just reach and stretch, ah, like you're yawning. And now roll over onto your back and roll over to the other side. So again, take a second to get set up.
And this side may be totally different feeling than the other side. Do a couple of shoulder mobility, rib mobility, sag down a little bit, push up. You always wanna do it with control there. You don't ever wanna drop down there. And then when you feel like you've pressed and you're ready, hover your top leg and start to go front and back.
Start small and then gradually get a little bit bigger. And I like to say test the water. So if you're not quite sure if you can go farther, go farther, see what happens. You'll notice something will change and then that gives you information for the next time. Yeah, that's right.
Do one, exactly. (laughs) One more. Still happens to me 30 years later. Now the next time your leg is to the back, keep your leg to the back, bend your knee. This is a preview of coming events, that position, and then stretch it out, do it four times. Yeah, so the more you hold your leg back there, the more stretch you'll feel across the front of your thigh and into your abdomen.
And this is the last one. And then let it go. Take your leg to the back and do this big long stretch kind of like you're yawning and reaching. It should feel excellent. All right, and come up to sitting.
And we're gonna come down to lie on our front, face down. So face this direction and lie down on your front and take a second to kind of walk your legs backwards. And it almost feels like you're stretching your hip and even stretching your abdomen a little bit. And your legs are hip width the part, something like that. So we're gonna start with the press up and I like to call it the prone chest lift, even though chest lift traditionally is lying on your back.
I think it's the same movement with your hands by your ribs. So start to reach your elbows a little bit back and just press up to where you're standing on your low ribs. So your low ribs are still on the floor, and then roll down. Look all the way at the floor and then when you come up, just look a little bit in front of yourself. So come up.
Yeah, so you're looking out maybe a foot or two in front of yourself on your mat. And roll up and down. And just do it at your own timing. It's not a very big movement. Yeah, that's great.
This is combating all of our sitting at our computers and our desks and our phones. So the next time you come up, stay there and look, kinda look about there. Nod your chin down just a tiny bit. Yeah, that's great. So you're gonna hold this position.
You're gonna slowly start to lift your hands away and reach your arms back for your feet, like reach long. Yes, that's great. So from here, press your arms up slowly to the ceiling and slowly down. Slowly to the ceiling and slowly down. This is called the dart.
I'm gonna have you look down just a teeny bit. Yeah, that's it. And we're only gonna do about, I don't know, 100 of these. Is that the right amount? Two more.
And you'll notice the backs of your arms are really switched on. That looks great. And when you're finished with that one, take a break for a second. Let your body come down. You can wiggle your legs back and forth a little bit, give your body a break.
And then bring your arms out in front of you. Yeah, so this is kind of like a Sphinx pose. So your elbows are gonna be more under your shoulders. Your arms are bent. So come into this place.
Yeah, but put your lower ribs down. So this is really important. If somebody can bring their arms all the way under, that's fine. But often it just means that they're arching in their low back. So I want the arch to be in the upper back.
So the elbows might be a little bit more forward. Yeah, and you can have your elbows go more forward, more, more, more, more, keep going more and more and more, more, more, or yeah, a little bit more, there. Now you can pull with your arms and pull yourself into the shape. Go a little bit farther with your arms, Emma, more forward. It's lower than we think sometimes.
And this is kind of my look at this exercise of single leg kick. All right, now, here we go. You're gonna start to bend one knee and it's kind of a funny image. Really nice. If you had a little bubble right here, could you go around the bubble without squishing it?
Try the other side. Yeah, that's right. And you'll notice when you do that, it makes your thigh stretch a little bit more. Very good. All right, so that's the feeling, but now we've gotta do it a little bit more up to tempo.
So pull a little bit more with your arms, like you're gonna try to slide yourself forward on your mat. Everybody bring your legs down and we'll do it all together at this tempo. Here we go. Kick, kick, lengthen. Kick, kick, lengthen.
That's right. Kick, kick, lengthen. Good, and you guys are doing a really nice job of keeping your body position. In, in, keep pulling with your arms. In, in, lengthen.
Look a little forward. In, in, lengthen. Push through the arms a little bit more, Hannah. Yeah, that's right. And lengthen last one.
Look a little bit more forward. Lengthen and relax. All right, very good. Push back and sit back over your heels in a child's pose position. So sit and push back and you can do any version of this that feels really good.
You can have your arms stretching forward or to the side. (breathing deeply) Nice to give our backs a stretch in the other direction. All right, so here we go. We're gonna do a little bit of an exercise now that's in a plank. Yay, everybody says. (laughs) Woo-hoo! All right, so come onto your knees.
And before we even get to the plank, let's just go into hands and knees. So you almost look like a table. So your spines are long. And not that, tilt that way. If I brought in a broom stick, right?
And you can actually push your weight back over your heels for a second before we go to plank, pre-plank, yeah. You have the feeling that your head, your ribs and the back of your pelvis are all in a long line. Mm-hmm, and bring your head up a little bit. So this is the same position of your torso that you're gonna use in a plank. So now you can either stay at your knees or you can go to your toes turned under and go into a plank, whichever version of the plank you wanna do.
And either walk your feet back or your hands forward. Yeah, that looks great. Now, can you get longer in your plank? Yes, that's it. And then gracefully put your knees down one at a time.
That's right. Take the weight away from your hands for a second. And now go again. So press into your feet. Right, so you wanna keep lifted through your ribs.
Now slowly press with your hands and push yourself back into the V position. Yeah, that's great. And move your feet or your hands if you need to. That's really good. And then come back into your pushup position or your plank.
So again, with this population, do it two more times, guys, in this population, we wanna be really mindful that the hamstring stretch might be quite a lot. So you could bend your knees here and then go and do the plank. Good, one more time. Back into the V, push with your arms, and the heels will definitely not touch the floor. So that's, yeah, fantastic.
All right, come down, take a break for a second. How did that feel? Is it okay? Yeah, good? It's important, a plank is such a good movement.
It's a really full body movement that I like. All right, now we're gonna dress it up. So no longer is it just plain old plank. Now we're gonna do an exercise called the twist. So it's like the plank and the V but only on one arm at a time. (laughs) So face forward.
And let's go hands this way, feet this way, facing the camera. So you're gonna sit on your side on the side of your hip. Yep. And people ask me as a teacher all the time, which foot should go in the front? Should it be my top leg in the front or my back?
And, you know, it doesn't really matter. Some people like one, some people like the other. The only advantage to starting with your top leg in the front is that if you were just to turn and put this hand down and go into a push-up, her feet are already in that position. So if you wanted to do things, something like that, where you went to one side and then the other side, you might start with the top leg in the front, but ultimately, depends on the person and what they prefer. So I don't have a strong preference.
All right, are you ready? So here we go. So you're going to press into, well, just listen to the direction one time. So you're gonna go to the side plank and then you're gonna go into the V, yeah? All right, here we go.
So press up, go into your plank and reach. Now press with your arm and push back V and let your hips go up to the ceiling and then come back out to the plank. Yes, one more time. And then come up to the ceiling, push your hips up, up, up, up, up, and then come back out to the plank. Good, gracefully sit down.
Fantastic. Really nice work. Turn and face the back. Here we go. So same thing.
So nope, you stay the same way so you're doing the other side. (laughs) You got it, that's fine. Here we go, so get ready. And when you press out into your plank again, be in the longest line that you can. Here we go. Press up and start to twist and send your hips up to the ceiling.
Good, press with the arm. Fantastic. Come back out, spark a little bit. And then go again, press the hips up and come back out. And again, gracefully have a seat.
Very nice. Very nice, you guys can be in my class any day. All right, ready to finish up? Let's come up to standing. So in yoga, you might notice this or know this movement as warrior III.
In dance, we would call it a Penche. In other exercise forms, I think they call it the airplane. So we're gonna do that today. And we're gonna be mindful, not so much, we're gonna be mindful of the whole body, but not so much of this leg, but what's happening at this leg because this is where you might get a really deep hamstring stretch if you tip over a lot. So again, we need to just be considerate if that range of motion isn't really available.
So stand with your feet. Yeah, you guys look good. So feet kind of under your pelvis and we're just gonna practice what happens in the body first. So if you put your fingertips kind of in the soft place right at the front of your hip and you bend this way and then come back up, that's what's happening from our body. So tip over.
Yeah, and right there, lift your heart a little bit higher. So lift up there, yeah. And then come back up. So if you do that motion and you feel a really big stretch in the backs of your legs, then don't go so far. That's right, good.
That's right. Now let's add the leg to it. And I like to start with the body tipped over the first time. So let your body go over just a little bit. So you're a little bit on a lean.
Look a little more forward toward maybe the front edge of your mat. So look down that way more, yeah. And then start to take one leg and brush it out behind you. Yeah, and then put it down and change sides. And our goal is, you guys are great, our goal is to have one straight line.
So lift your body a little higher, there, and then come back up. It's kind of like a seesaw or a teeter totter. Great, and when you're lifting, this is gonna feel funny, but lift the inner thigh. That's right. And I don't know if you noticed, when you lift your inner thigh, it helps you to square your pelvis off.
Yeah, now every time you come back up to standing, come to stand tall and we won't start in the tip forward. So see what you think about reaching your arms back with your leg. So your fingertips are reaching back. And then do that on the other side. Fingertips reach back and try to go again like a teeter totter.
Nod your chin down just a little bit. Yes, good save. And then come back up. And I love how you guys are really managing your balance. Now, let's see what happens if we add onto it.
So we haven't practiced this yet. So go over, pause right here, not too far, and just do a little baby bend in your knee and then push back up. I know. Do one more, little baby bend. Yes, and then come back up.
Good, last time. Stretch the leg back, get into a long line, but it doesn't have to be very far over. Yes, little baby bend in your knee and back up. Well done. One more little tiny bend and let that go.
Put your feet down. Well done. And we're gonna roll down to the floor to finish up. So you can actually have a seat. And just roll down onto your backs.
I'm gonna do one little hip stretch just 'cause it feels nice. So bend your knees and put your feet flat. Mm-hmm, and then you're gonna cross one leg. Let's all cross the same leg. So take this back leg, cross it all the way over your front knee.
Yep, and now tilt your knees toward the back wall and you'll start to feel a stretch, yeah, from this whole hip and these ribs are trying to stay back just a little bit. Mm-hmm, yeah. And you can keep your head down. Very nice. And then undo your legs and do them the other direction.
And if you wanted to, you could even, you could stretch your arms out. There's lots of options for this to just make it feel good. Just a little stretch. This is a good stretch to do if you've been at the computer for a long time, you've been sitting a long time. All right, and then come back to the center and let it go.
Come up just to sitting. How do you guys feel? Moved, like you're warmed up now? Ready to start the class? Oh no, we did the class.
All right, great. So thank you guys for joining me today and thank you for joining our class. I hope you found some of the information useful. Again, with this population, whenever kids start to grow quite rapidly, be very mindful of how much stretching activity you're giving and how precise you're making movements and how strict you are with movements because as the body changes, everything is changing. So your proprioception, your awareness is all a little bit different.
So don't be so concerned with things being perfect, more go to where things feel good, you feel like you're being challenged in a good way, but not overdoing it. So I look forward to seeing your comments and let me know how the class went.
Knee Health: Whole Body Movement for Knee Function


Comments


You need to be a subscriber to post a comment.
Please Log In or Create an Account to start your free trial.
