
Premium Continuing Education workshop
You can view a 2 minute preview. For details, scroll down below the video.
Description
Objectives
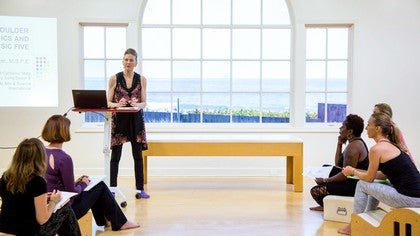
• Master the fundamental anatomy of the shoulder
• Explore exercises that target and benefit all shoulder-supporting muscles
• Seamlessly incorporate these techniques into your existing programs
Once you purchase this workshop, the accompanying PDF will appear beneath the workshop description on this page.
About This Video
Continuing Education Credits
If you complete this workshop, you will earn:
2.0 credits from Pilates Association Australia (PAA)
The Pilates Association Australia (PAA) is an independent and not-for-profit organization established by the Pilates industry as a regulatory body for control of quality instruction, member support, and integrity within all legitimate approaches to the Pilates Method.
3.0 credits from National Pilates Certification Program (NPCP)
The National Pilates Certification Program is accredited by the National Commission for Certifying Agencies (NCCA)
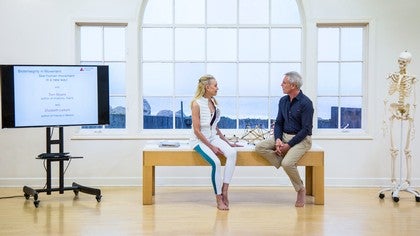
Workshops: Anatomy and Fascia

Mention
 |
Karen Clippinger (Teacher) |
|
|
Brittany |
 |
Eva Sengouni |
|
|
Cindy S |
 |
Amy S |
|
|
Joanna G |
 |
Noelle |
 |
Josephine W |
 |
Cynthia E |
|
|
Bruce C |
 |
Gia Calhoun |
 |
Sarah Edwards at Positive Pilates Solihull |
Comments


Many thanks (and a Happy New Year)!
Sarah


This class for myself to say have myriad benefit .
May I ask you to tell pilatesanytime.com to add subtitles to this video?
Thank you so much .


You need to be a subscriber to post a comment.
Please Log In or Create an Account to start your free trial.
