Workshop #3641
Go Deeper on the Reformer
Description
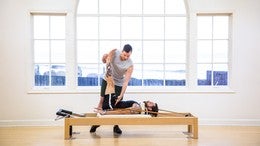
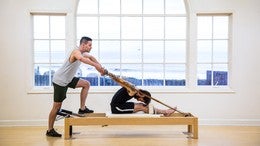
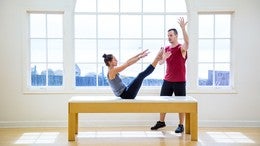
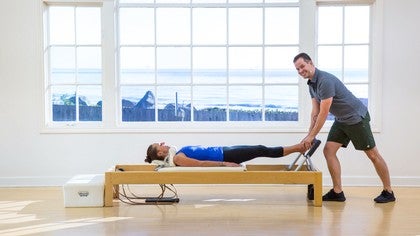
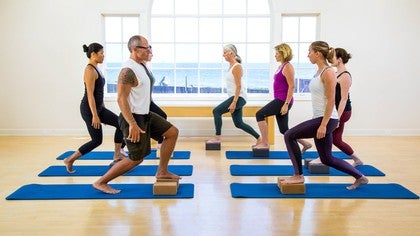
Learn ways to inspire your practice on the Reformer with this informative workshop by Benjamin Degenhardt. He breaks down a cross section of the original exercises, offering tools that you can use to identify which exercises are appropriate for your body. He also gives insight to the sensations you should feel in each movement so that you can find deeper connections in your body.
What You'll Need: Reformer w/Box
About This Video
Workshops: Free Workshops

Mention
 |
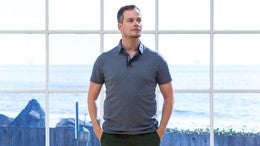
Benjamin Degenhardt (Teacher) |
 |
Jamie J |
 |
Martha R |
 |
Erica Young |
 |
Paulinka S |
 |
Natalie@UnitedPilates |
|
|
Martha T |
|
|
Nina F |
|
|
Linda T |
|
|
Shannon |
 |
Zeren Joy |
 |
Jill C |
 |
Elisha G |
 |
Meredith Rogers |
|
|
Debbie W |
 |
Vianca R |
|
|
Katarzyna R |
 |
Beverly L |
 |
Connie M |
 |
Elizabeth B |
|
|
Joanne Smith |
|
|
Irena F |
|
|
Ana C |
|
|
Steven W |
 |
Tiffany L |
|
|
Madhavi A |
|
|
Viera W |
Comments
Skip to Latest


Thank you so much for an awesome free  workshop, Benjamin your expertise is just amazing, I watched the whole thing through first and now I look forward to following along. Meredith you move beautifully.
Thank you and Happy New Year.
workshop, Benjamin your expertise is just amazing, I watched the whole thing through first and now I look forward to following along. Meredith you move beautifully. Thank you and Happy New Year.
6 years ago

Amazing! Great insight and understanding of the subtleties of the work! Thank you Benjamin and a wonderful job by Meredith. 😍
6 years ago


1-10 of 27
You need to be a subscriber to post a comment.
Please Log In or Create an Account to start your free trial.
