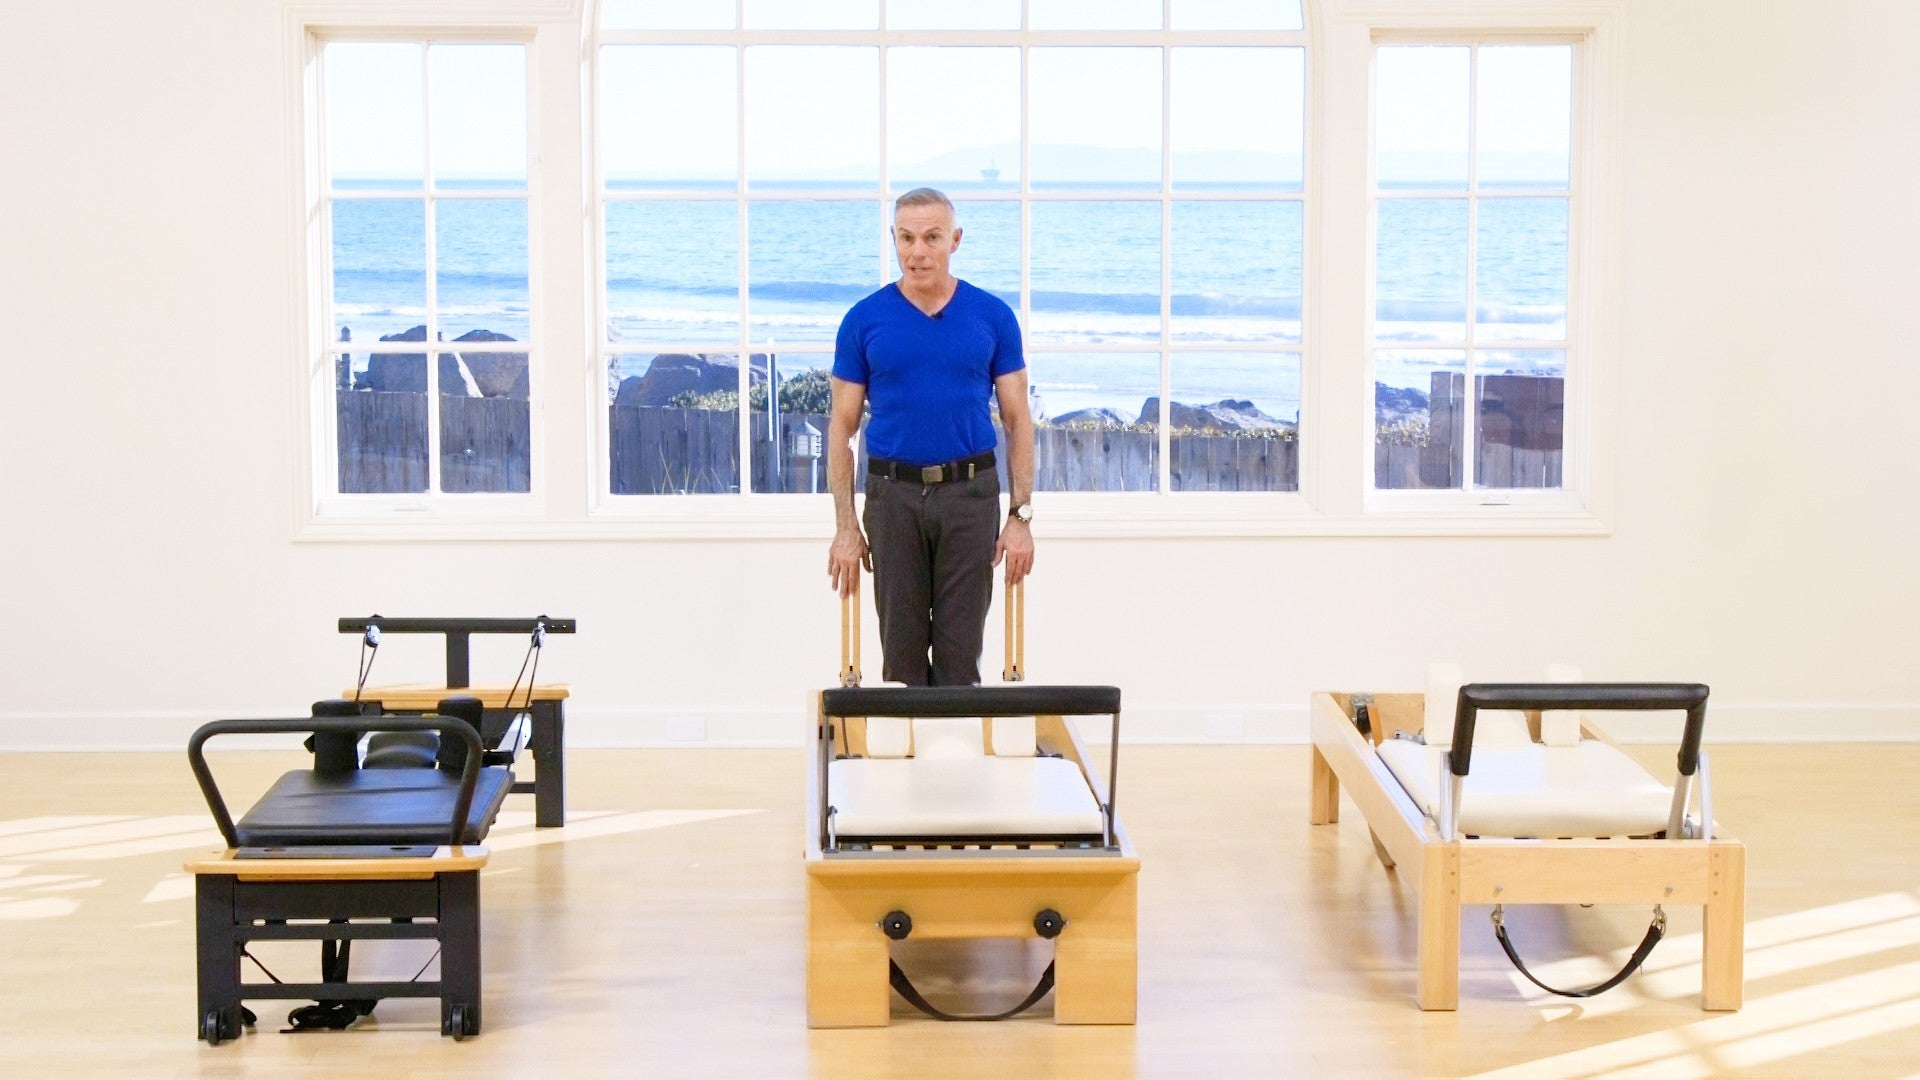
Reformer Pilates: The Secret to Faster Results?
If you're new to Pilates, there's a good chance you've been enticed by Reformer Pilates classes, now readily available in most Pilates studios and upscale gyms around the globe. Although Pilates practitioners love the Reformer for its countless benefits, which range from increased core strength and better posture to decreased back and joint pain, Joseph Pilates originally created it by rigging springs to hospital beds, to help rehabilitate internees on the Isle of Man during WWI.
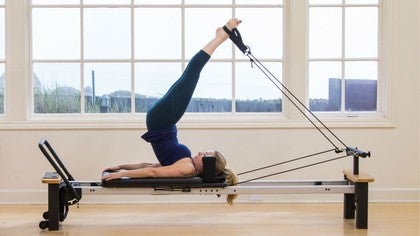
The magic of the Reformer - which is essentially a sliding carriage that moves by way of a pulley system - is that it offers a combination of resistance and support for the body. "The Reformer uses springs to add varying degrees of tension and resistance to workouts and exercises, which helps to strengthen and lengthen the muscles at the same time," explains Erika Quest, PMA-CPT, a Pilates and fitness instructor, and the owner of Studio Q in Laguna Beach. "It offers one of the most superior ways to balance the right amount of mobility and stability in all the different body positions available."
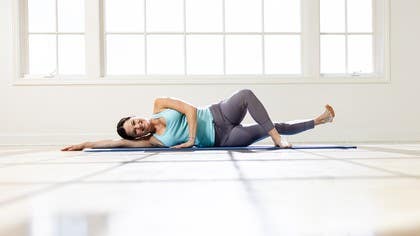
Although nothing can replace the Pilates Mat exercises, which require you to use your own body weight as resistance, experts agree that the Reformer has a slight edge when it comes to its effectiveness. Cases in point: A 2016 study found that the Pilates Reformer exercises delivered faster results for clients suffering from low-back pain than the Mat exercises alone. Another study published a year later in the journal Complementary Therapies in Medicine came to a similar conclusion. (For the record, Erika says that she agrees on an anecdotal level, but that her students typically benefit most from a combo of both Reformer and Mat exercises.)
Another reason the Reformer might have a leg up on the Mat: It's a boon for those recovering from injury or seeking to prevent one from occurring in the first place. "The Reformer is a fantastic way to move while lying on your back and in a non-weight-bearing position," which is particularly helpful for someone with an injury, Erika says. "The moving carriage, which offers both feedback and instability, also adds the benefit of challenging balance and spatial awareness because it changes your center of gravity."
But before you book your first class on a Pilates machine, here's a primer on what to expect. After all, preparation is key! Already have some (or lots) of Reformer experience? Steal Erika's tips for fine-tuning some of the classic movements.
Reformer Pilates Secrets for Faster Results
1. Stay away from loose clothing—fitted is the way to go.
It's important that the instructor can see your body shape, and how your joint and muscles are moving, Erika says. If you're wearing a billowy tank or basketball shorts, it makes it harder for the teacher to see and correct your alignment.
Take note: too little clothing can work against you, too. The last thing you want is to give your fellow movers an unexpected show. #awkward
2. Trade your kicks for (the right) socks.
Although you might be coming from a gym environment and used to wearing sneakers while you work out, Pilates is meant to be done barefoot, or, if hygiene is a concern (i.e., you're working out in a studio), with socks. But any old pair won't do. "Wear sticky socks so you don't slip on the equipment," advises Erika.
3. Don't even think about spacing out.
Pilates Reformer class is not a workout where you can just zone out and "muscle" through the movements. "Be mindful of the fact that you're dealing with a moving piece of equipment and springs," Erika says. "Pay keen attention to what your instructor guides you to do," which, will not only keep you safe, but it's also key to activating the proper muscles and getting the results you're looking for.
4. Speak up.
Always let your instructor know how your body's doing before and during the session. "Make sure you're in constant communication with your teacher about how things feel, and whether the spring tension feels okay. If something is hurting, let your teacher know."
5. Don't rush; mindfulness is key.
Although many workouts call for speed, the Pilates Reformer work asks you to slow down. "If you move too fast, you can ricochet the carriage on the Reformer," a total newbie move.
6. It's about quality, not quantity.
Erika says it best: "The Reformer helped me understand why quality is more important than quantity. You can't just bang out 150 reps. That's not what it's about. Be prepared to do fewer reps, knowing it doesn't mean your workout is going to be easier."
7. The Reformer will benefit everyone on the planet, period.
"There's a notion that the Reformer is 'some crazy device that's scary' or it won't work for me. Or that it's for dancers or physical therapists. But it's not, it's for everyone."
Get More Out Of Your Pilates Reformer Workouts with Erika's Tips
Have access to a Reformer? We're totally jealous! (And can we come over?!)
Although it's highly recommended that you work with a qualified Pilates teacher before hopping on board for the first time, websites like Pilates Anytime offer plenty of Pilates videos with tips and tutorials for intermediate and advanced practitioners accustomed to working on the apparatus.
Regardless of where you are in your Reformer practice, read on for some quickie Reformer routines and movement pointers from Erika. In Pilates, those little adjustments and tweaks can make all the difference!
BEGINNER
"A beginner routine should be an intro to some of the basics and themes," Erika explains. "You're setting a foundation for what you'll continue to do and improve upon and change." Below, some basic (but anything but easy!) movements:
Footwork Key benefits: Improves leg alignment, gait, lower-body strength and power Erika's tips:
- Notice if you're giving weight to each leg equally.
- Try to maintain a stable pelvis.
- Allow your breath to drive the movement.
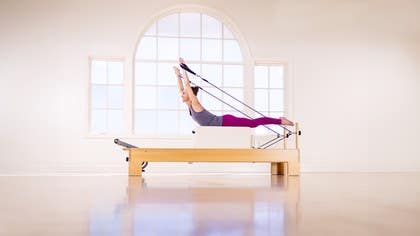
Hundred Prep Key benefits: Integrates the lower/upper body with the core Erika's tips:
- Carefully initiate the movement, making sure your neck isn't involved when it doesn't need to be.
- Work with your legs in tabletop, or only extend your legs to a level that doesn't allow your lower back to overarch.
- Move slowly with the ropes in your hands to coordinate all movement.
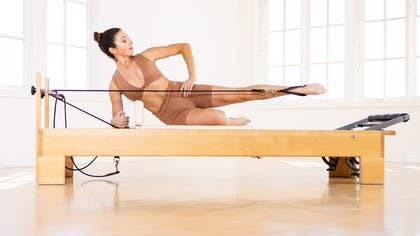
Feet in Straps (one of Erika's personal favorites) Key benefits: Promotes circumduction and mobility of the hips and the lumbo-pelvic region Erika's tips:
- Don't let your pelvis do the "zumba"—keep it as stable as possible.
- Move with control, not speed.
- When it comes to Leg Circles, don't think "bigger is better."
Basic Spinal Articulation (Bridging) Key benefit: Increases mobility in the spine Erika's tips:
- Focus on your hamstring/glute connection, to help "open your hips" toward the ceiling and "unwrinkle" the front of your pants.
- Notice how your spine—"the epicenter of your body"—is moving against the feedback of the carriage.
Arms Supine Key benefits: Works on upper-body strength and balance Erika's tips:
- Focus on quality of movement, not the range of motion.
- Keep your shoulders "away" from the shoulder rests.
- Rest your legs between exercises if needed.
INTERMEDIATE
Here, you'll add in different components and body positions (e.g., standing, kneeling) to what you learned as a beginner. Sample movements:
Long Stretch Key benefit: Promotes full-body integration Erika's tips:
- Align your shoulders over your elbows and wrists.
- Initiate the movement from your core, not your arms.
- Move the carriage as if you were "dragging it through mud."
Pulling Straps Key benefit: Activates the postural muscles and deep longitudinal system Erika's tips:
- Your head is part of your spine. Don't jut out your chin, and imagine that you have a turtleneck on and "grow" out of it before lifting your upper back.
- Keep your pubic bones connecting to the Box to avoid overuse of your low back.
ADVANCED
Finally, you'll take the work "to the pinnacle of what you can do with it," Erika says. A few exercises to expect:
Snake/Twist
- Be careful—moving with control is key.
- Keep the footbar in the low position to begin exploring the exercise before moving to the high bar position.
Control Balance Front/Back Key benefit: Promotes full-body integration Erika's tips:
- Keep your shoulders stable, and your elbows and wrists neutral.
- Think of slightly tipping your pubic bone toward your navel to create a more "supported neutral."
Side Sit Ups (or Side Overs) Key benefit: Promotes full-body integration Erika's tips:
- Make sure the safety strap is secure around your top foot before you begin.
- Reach out through the crown of your head to create length in your neutral spine.
- Don't pull your hands into your head—pull your head into your hands.
Rotation and Standing Work Key benefit: Promotes full-body integration Erika's tips:
- Visual challenge through rotation changes your center of gravity and balance.
- Try to "defy gravity" when in standing position during some exercises.
- Activate righting response muscles to work on fall prevention and reaction time.
Want more? Try Erika's super-challenging workout with BOSU!

Amanda Altman

Comments

You need to be a subscriber to post a comment.
Please Log In or Create an Account to start your free trial.